RESOURCE GROUP
Step by Step Guide to Creating an Azure Resource Group

What is a Resource Group in Azure?
A Resource Group is a container that holds related resources for an Azure solution. It can contain Virtual machines, Storage accounts, Databases, Networking components etc,
Prerequisite
Before you start, make sure you have:
- An active Microsoft Azure account
To Create a Resource group, follow the steps below
STEP 1
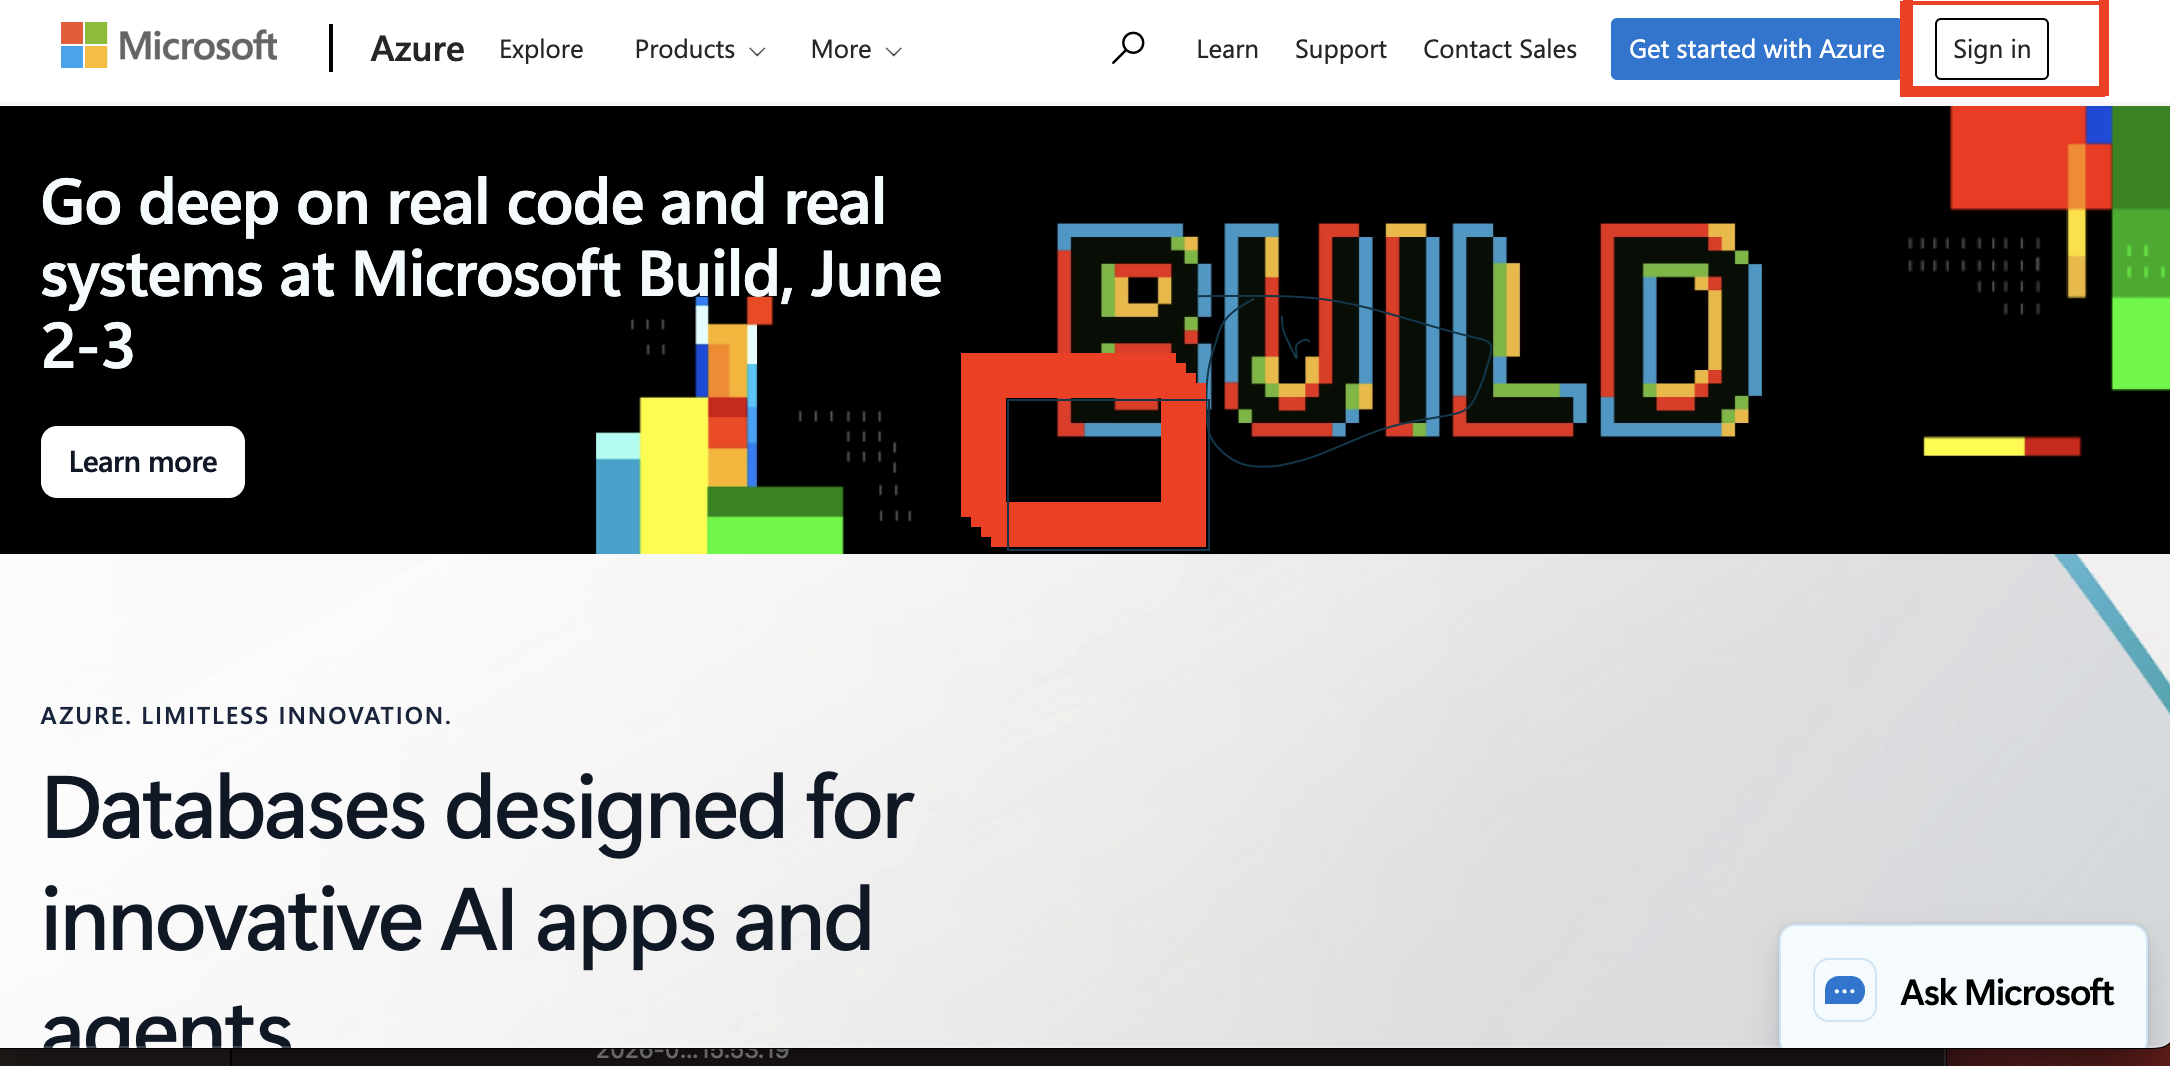
Open the Azure Portal
1. Open your browser
2. Go to the browser
https://azure.microsoft.com/en-us
3. Sign in or register into your Azure account
Once logged in, you’ll see the Azure dashboard.
Step 2:
At the top of the page:
1. Use the search bar
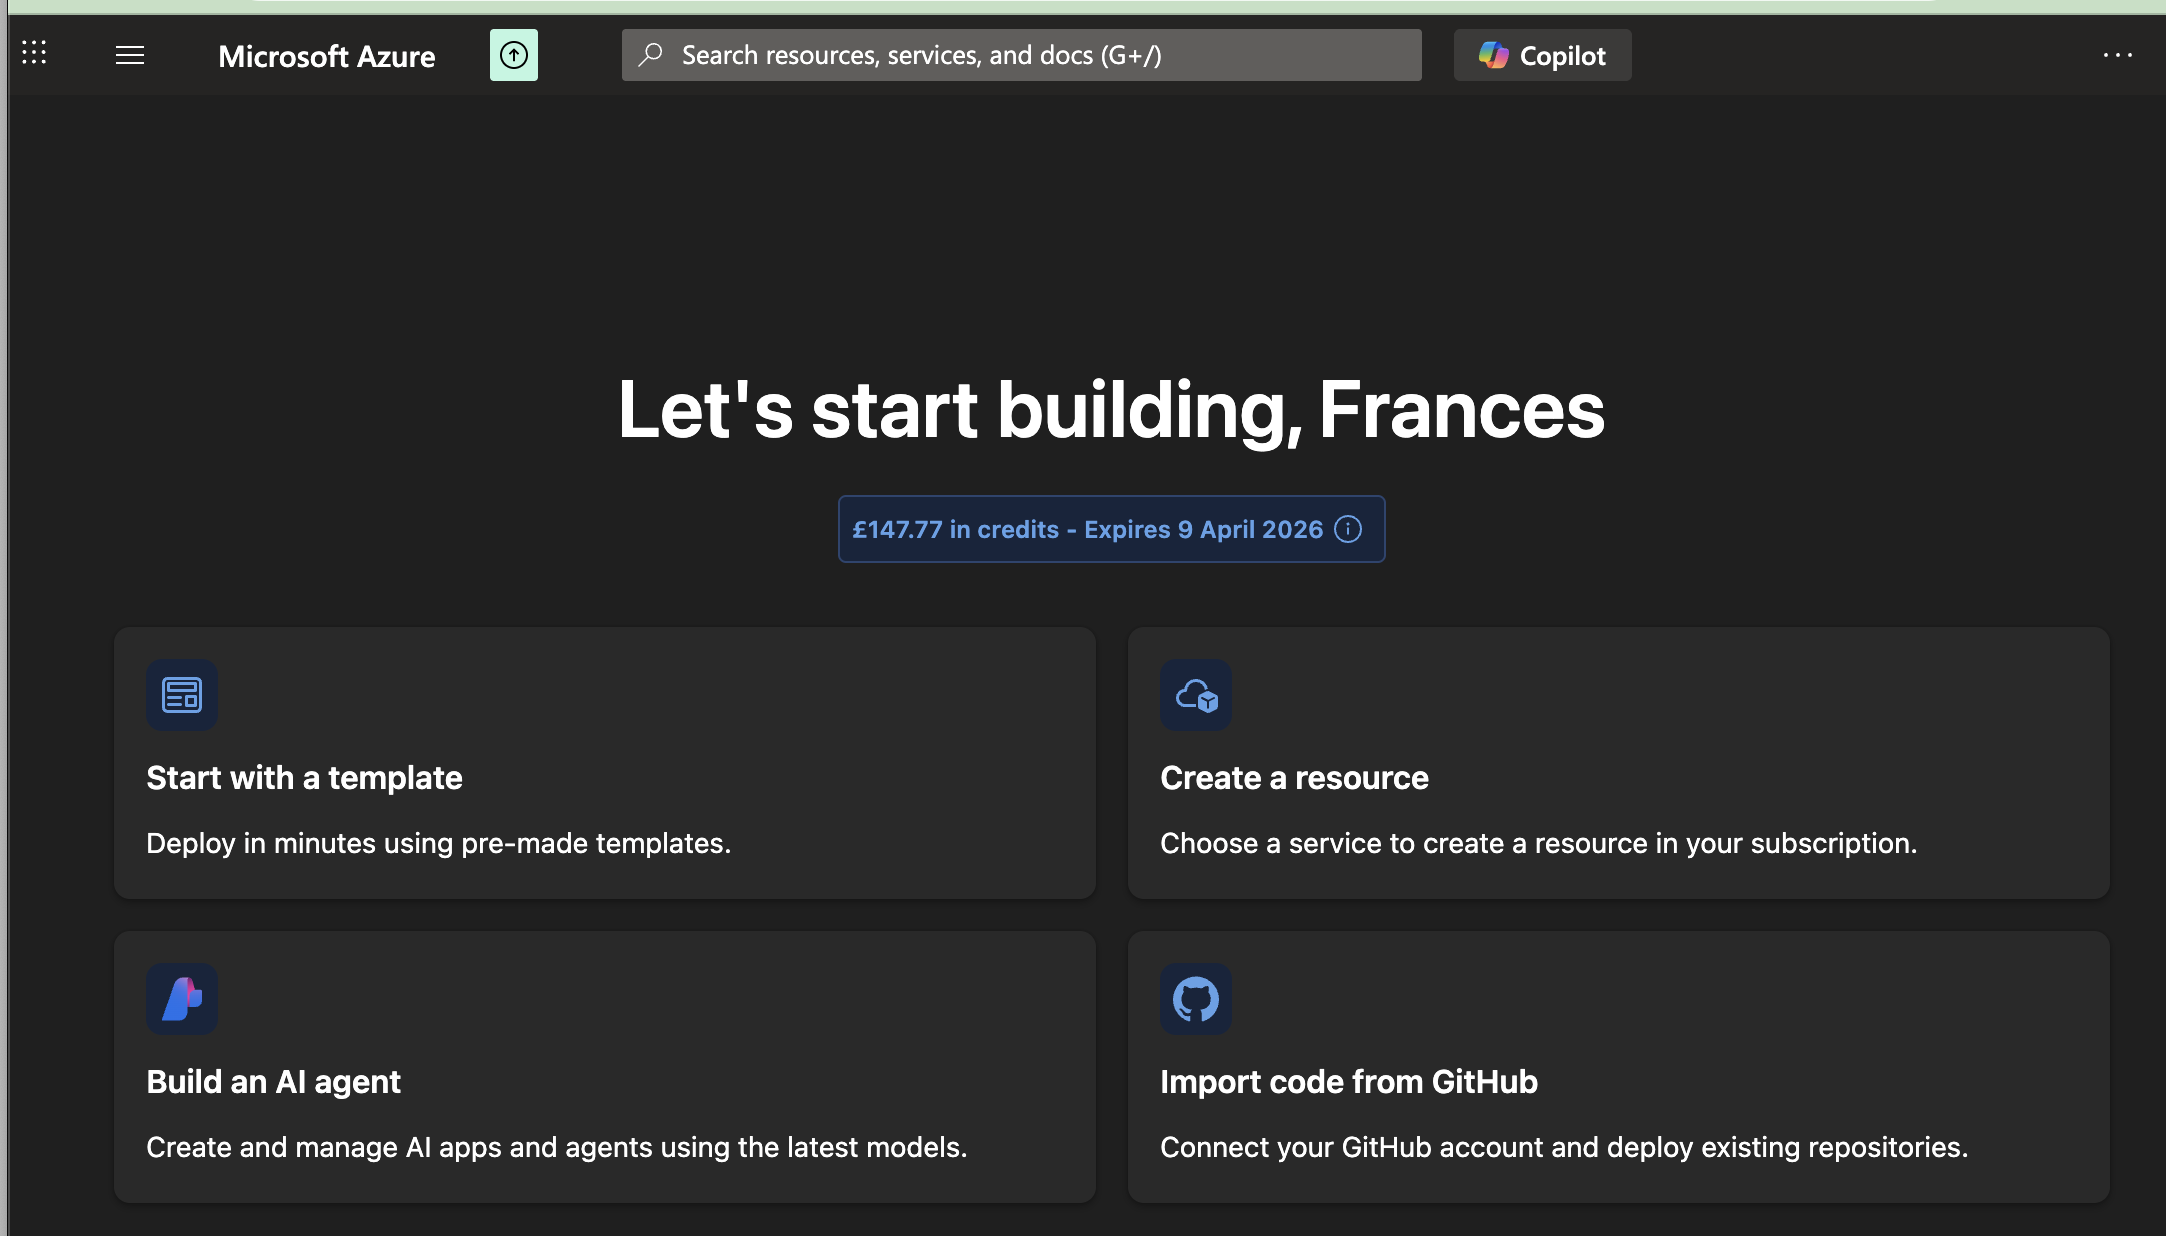
2. Type “Resource groups”
3. Click on Resource groups from the results
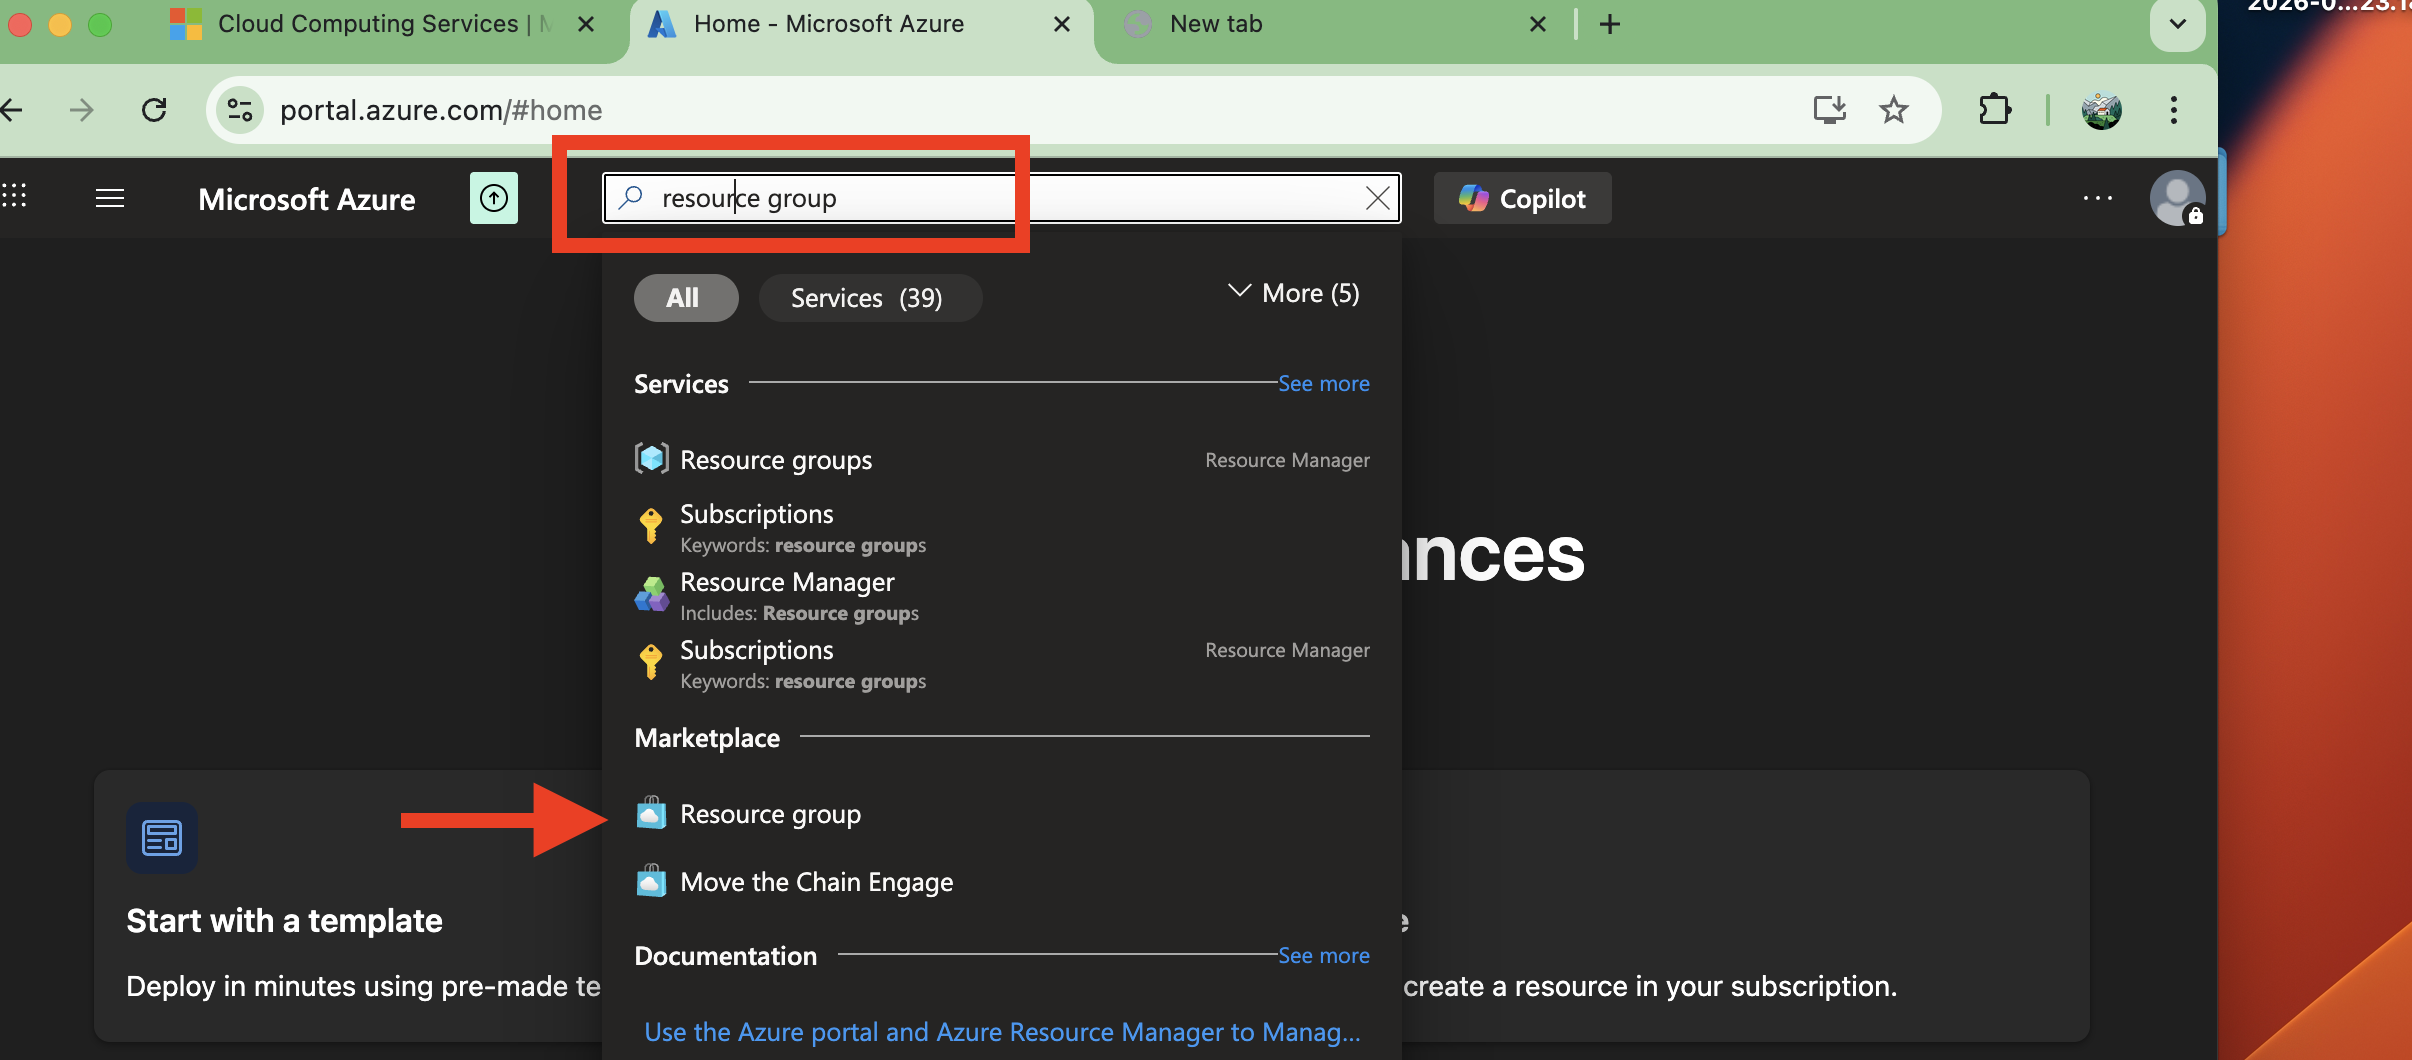
This will take you to the resource groups page.
Step 3:
Click “Create”
On the Resource Groups page:
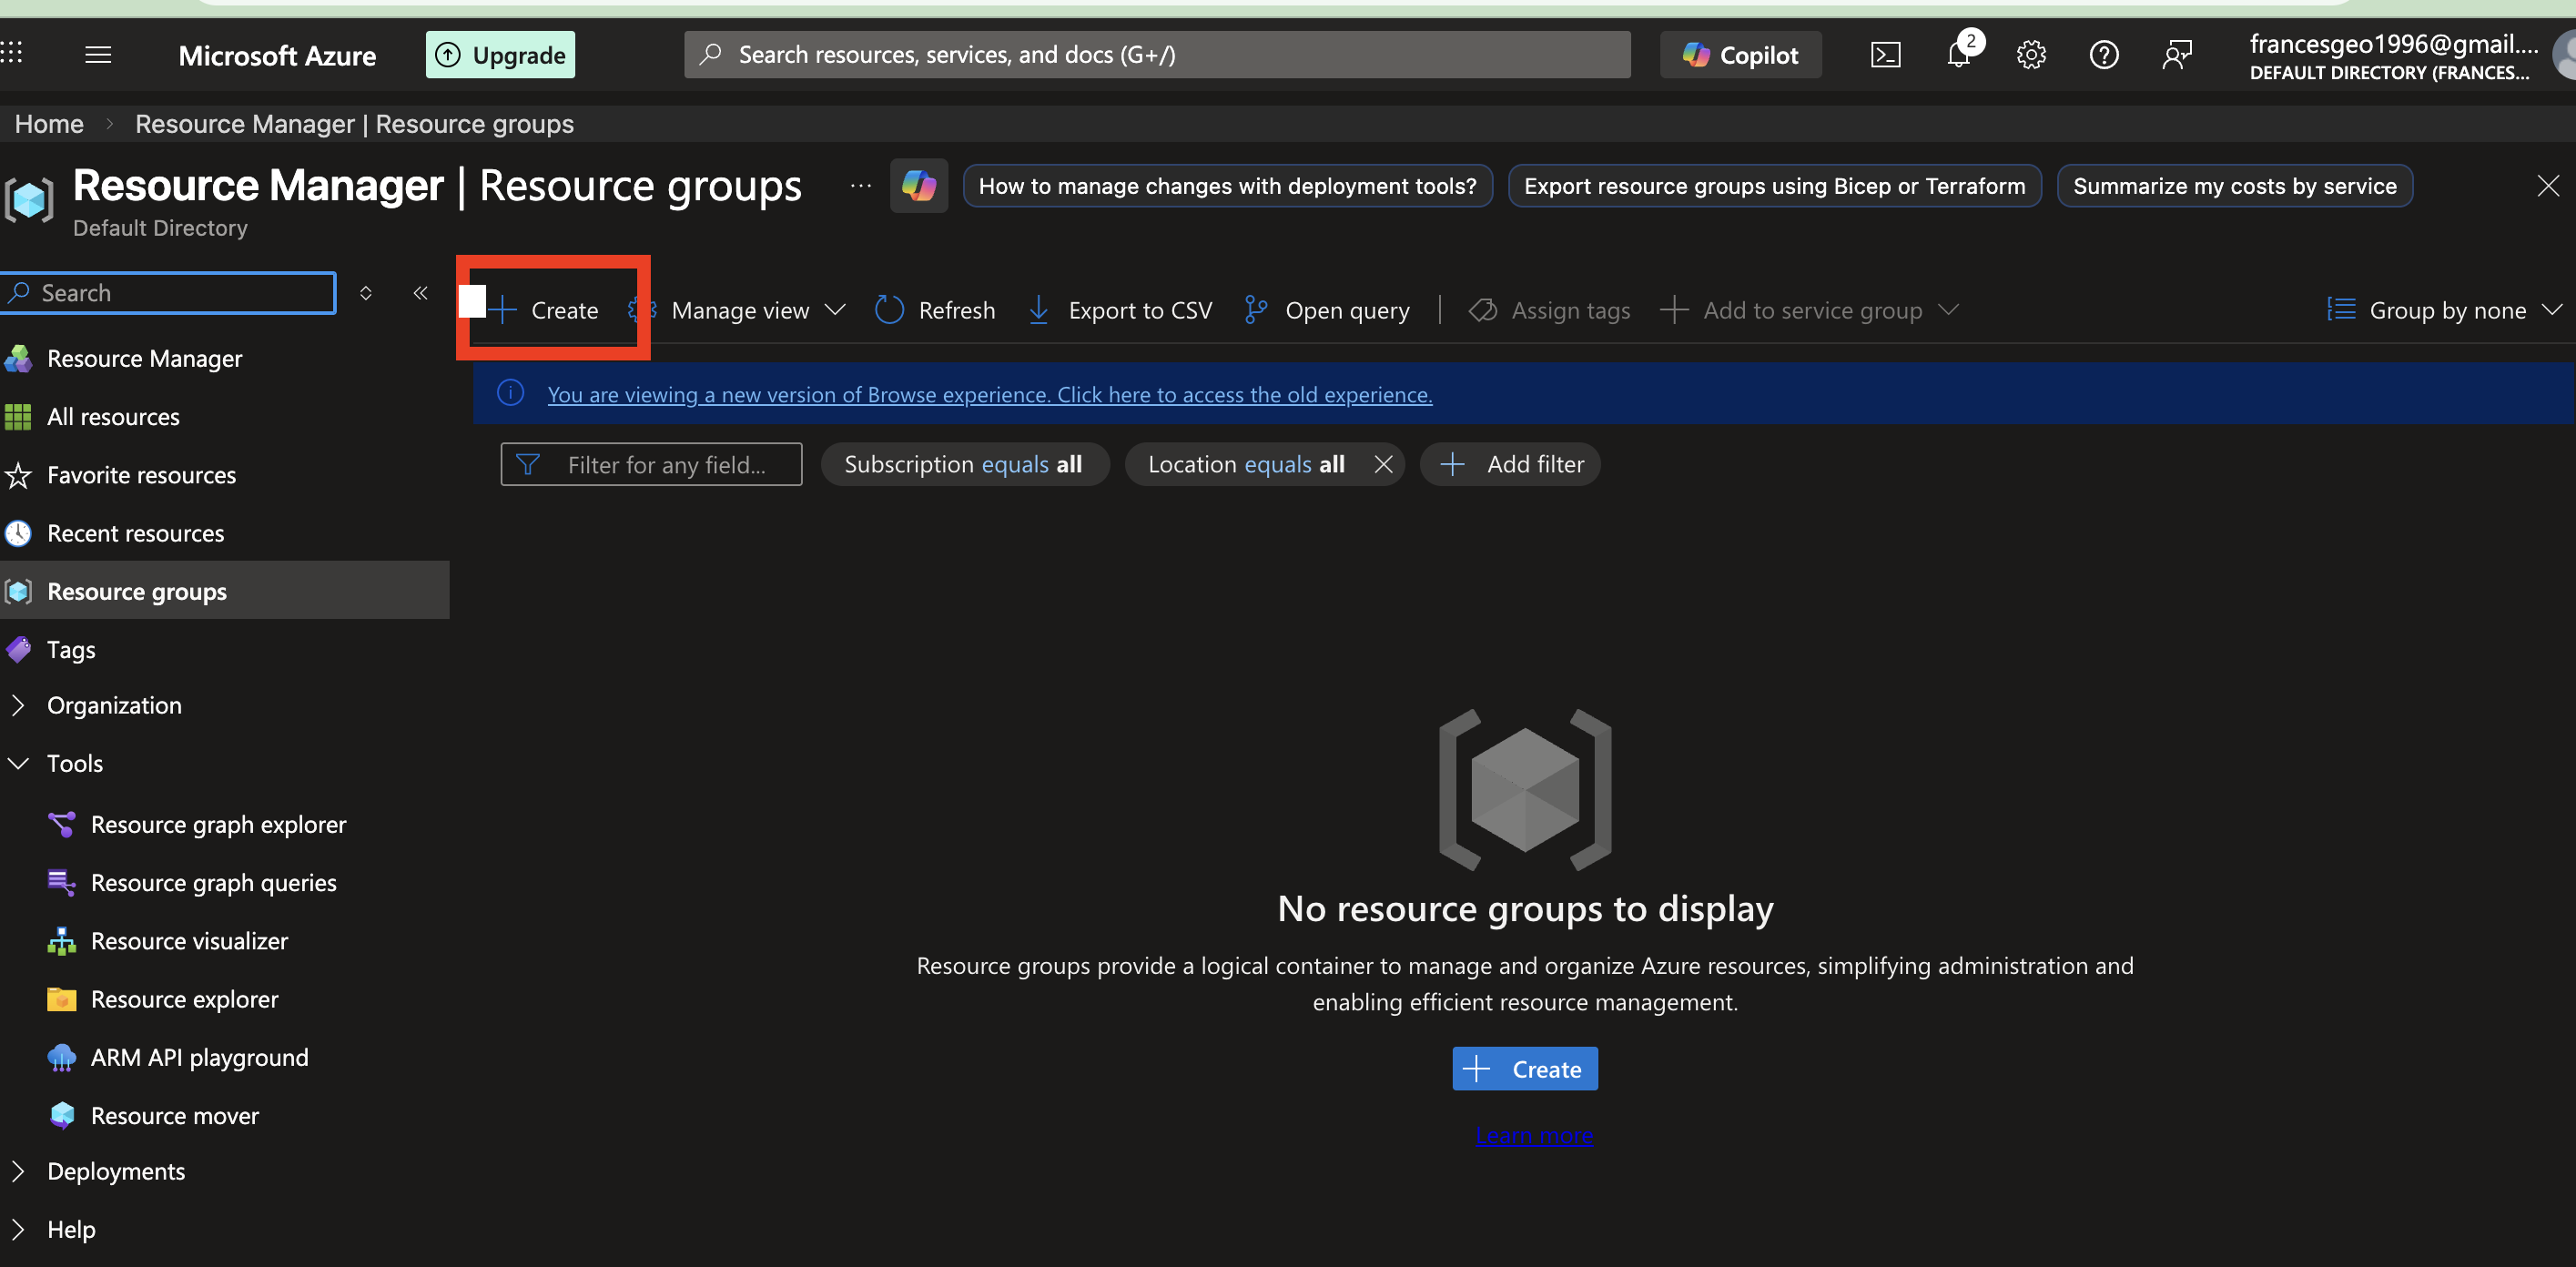
1. Create a Resource Group page shows.
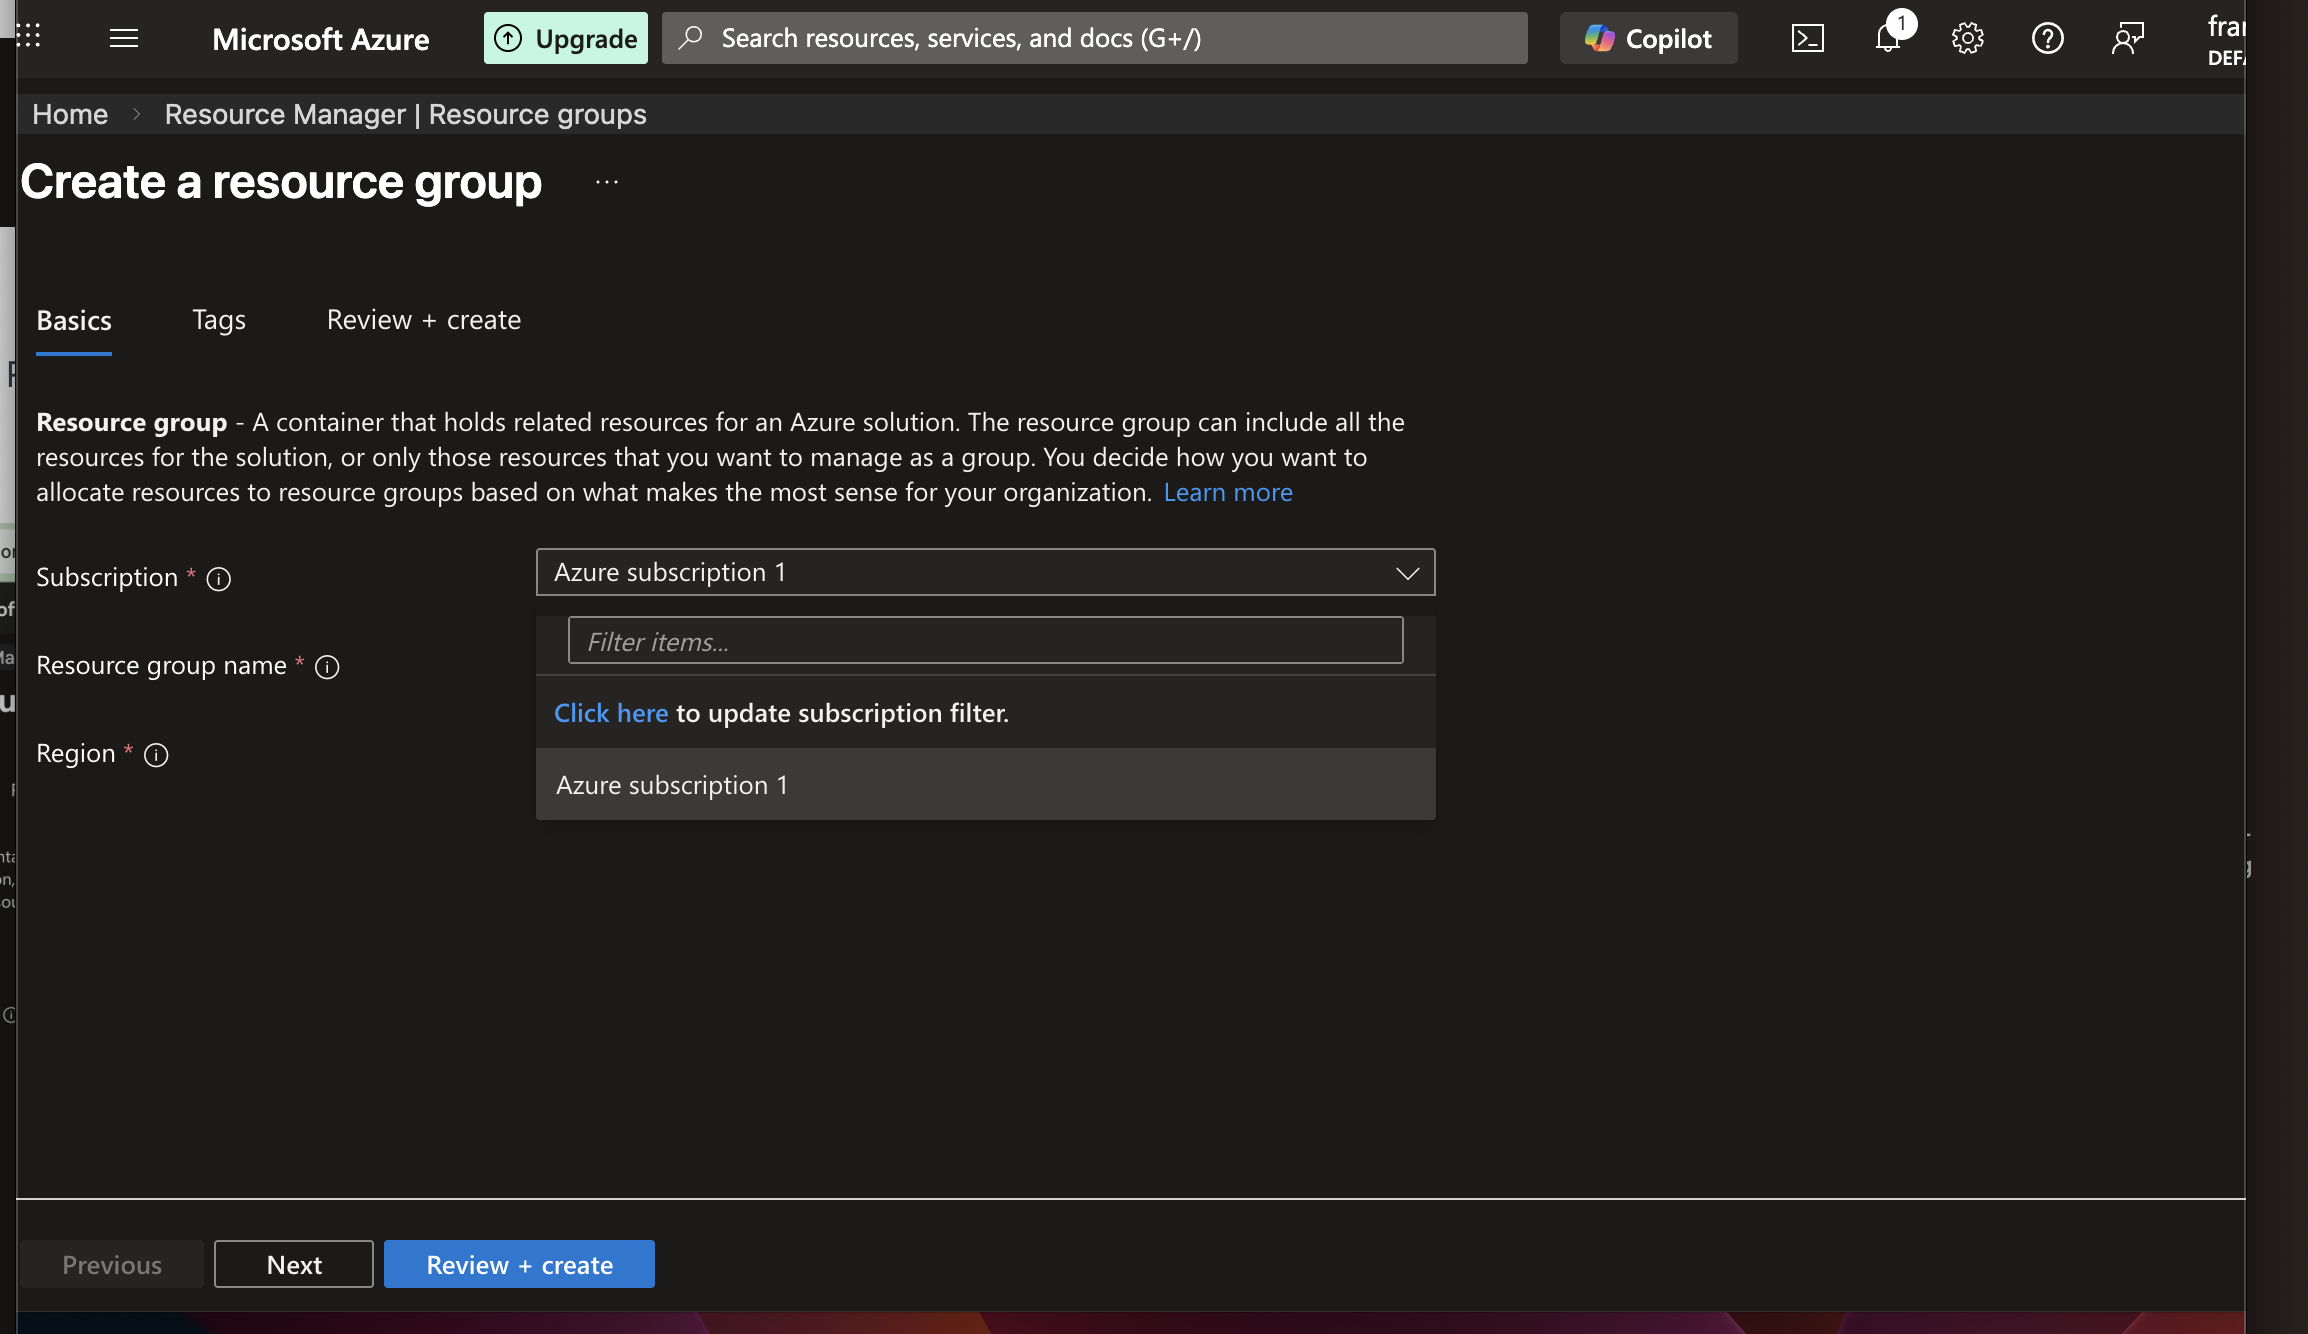
Step 4:
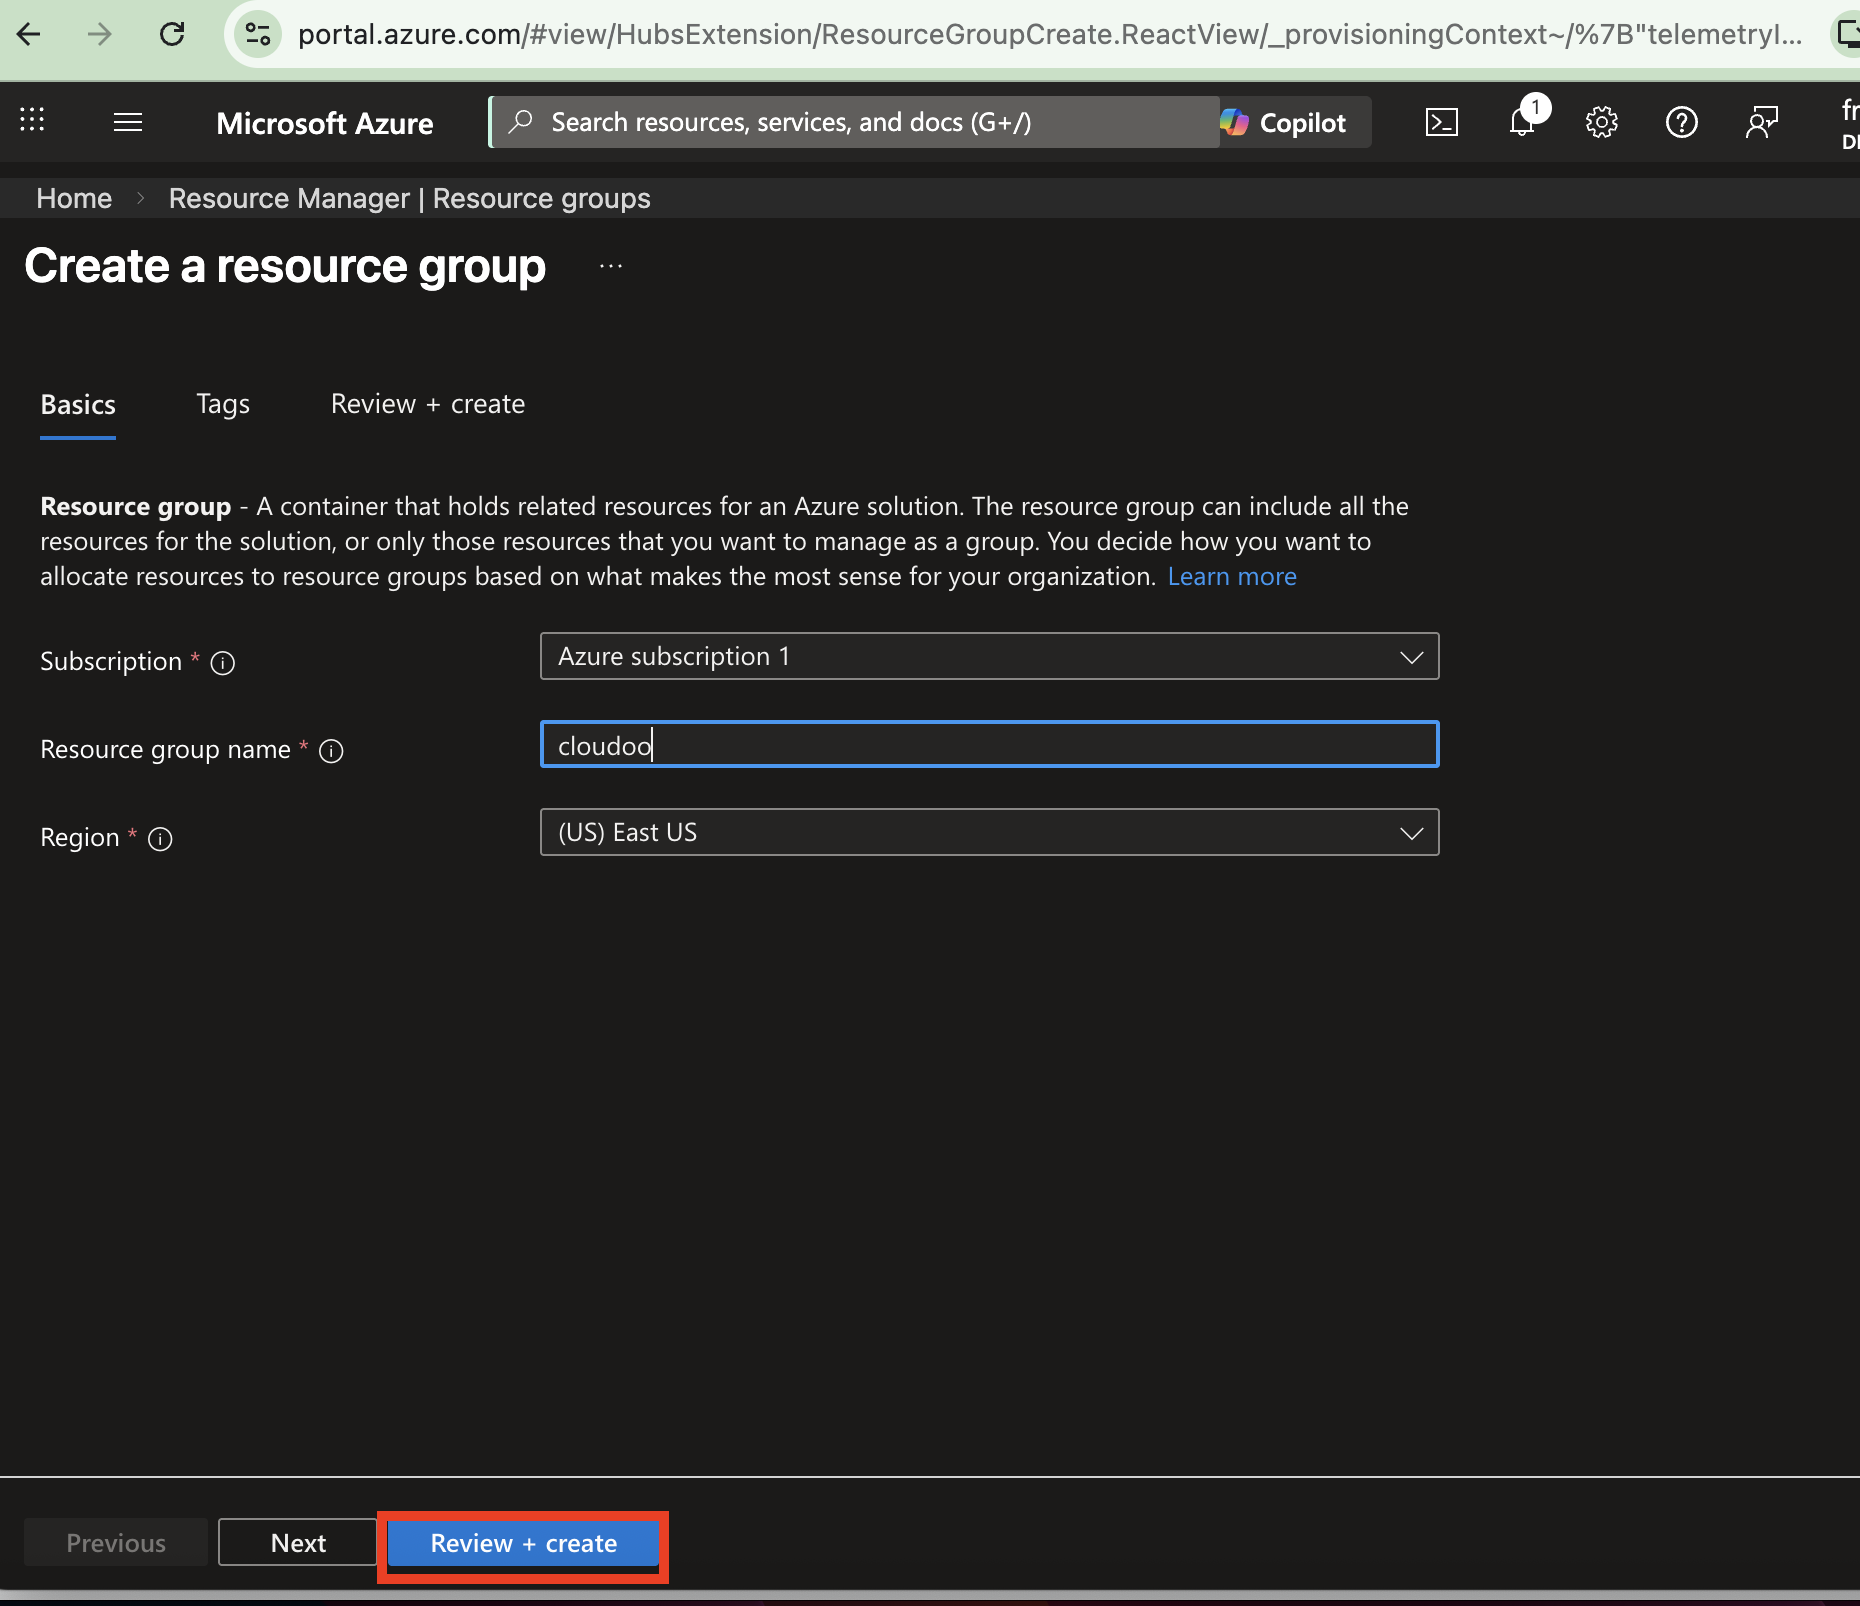
Fill in Basic Details
You’ll need to enter a few details:
- Subscription -Select your Azure subscription 1 (usually default).
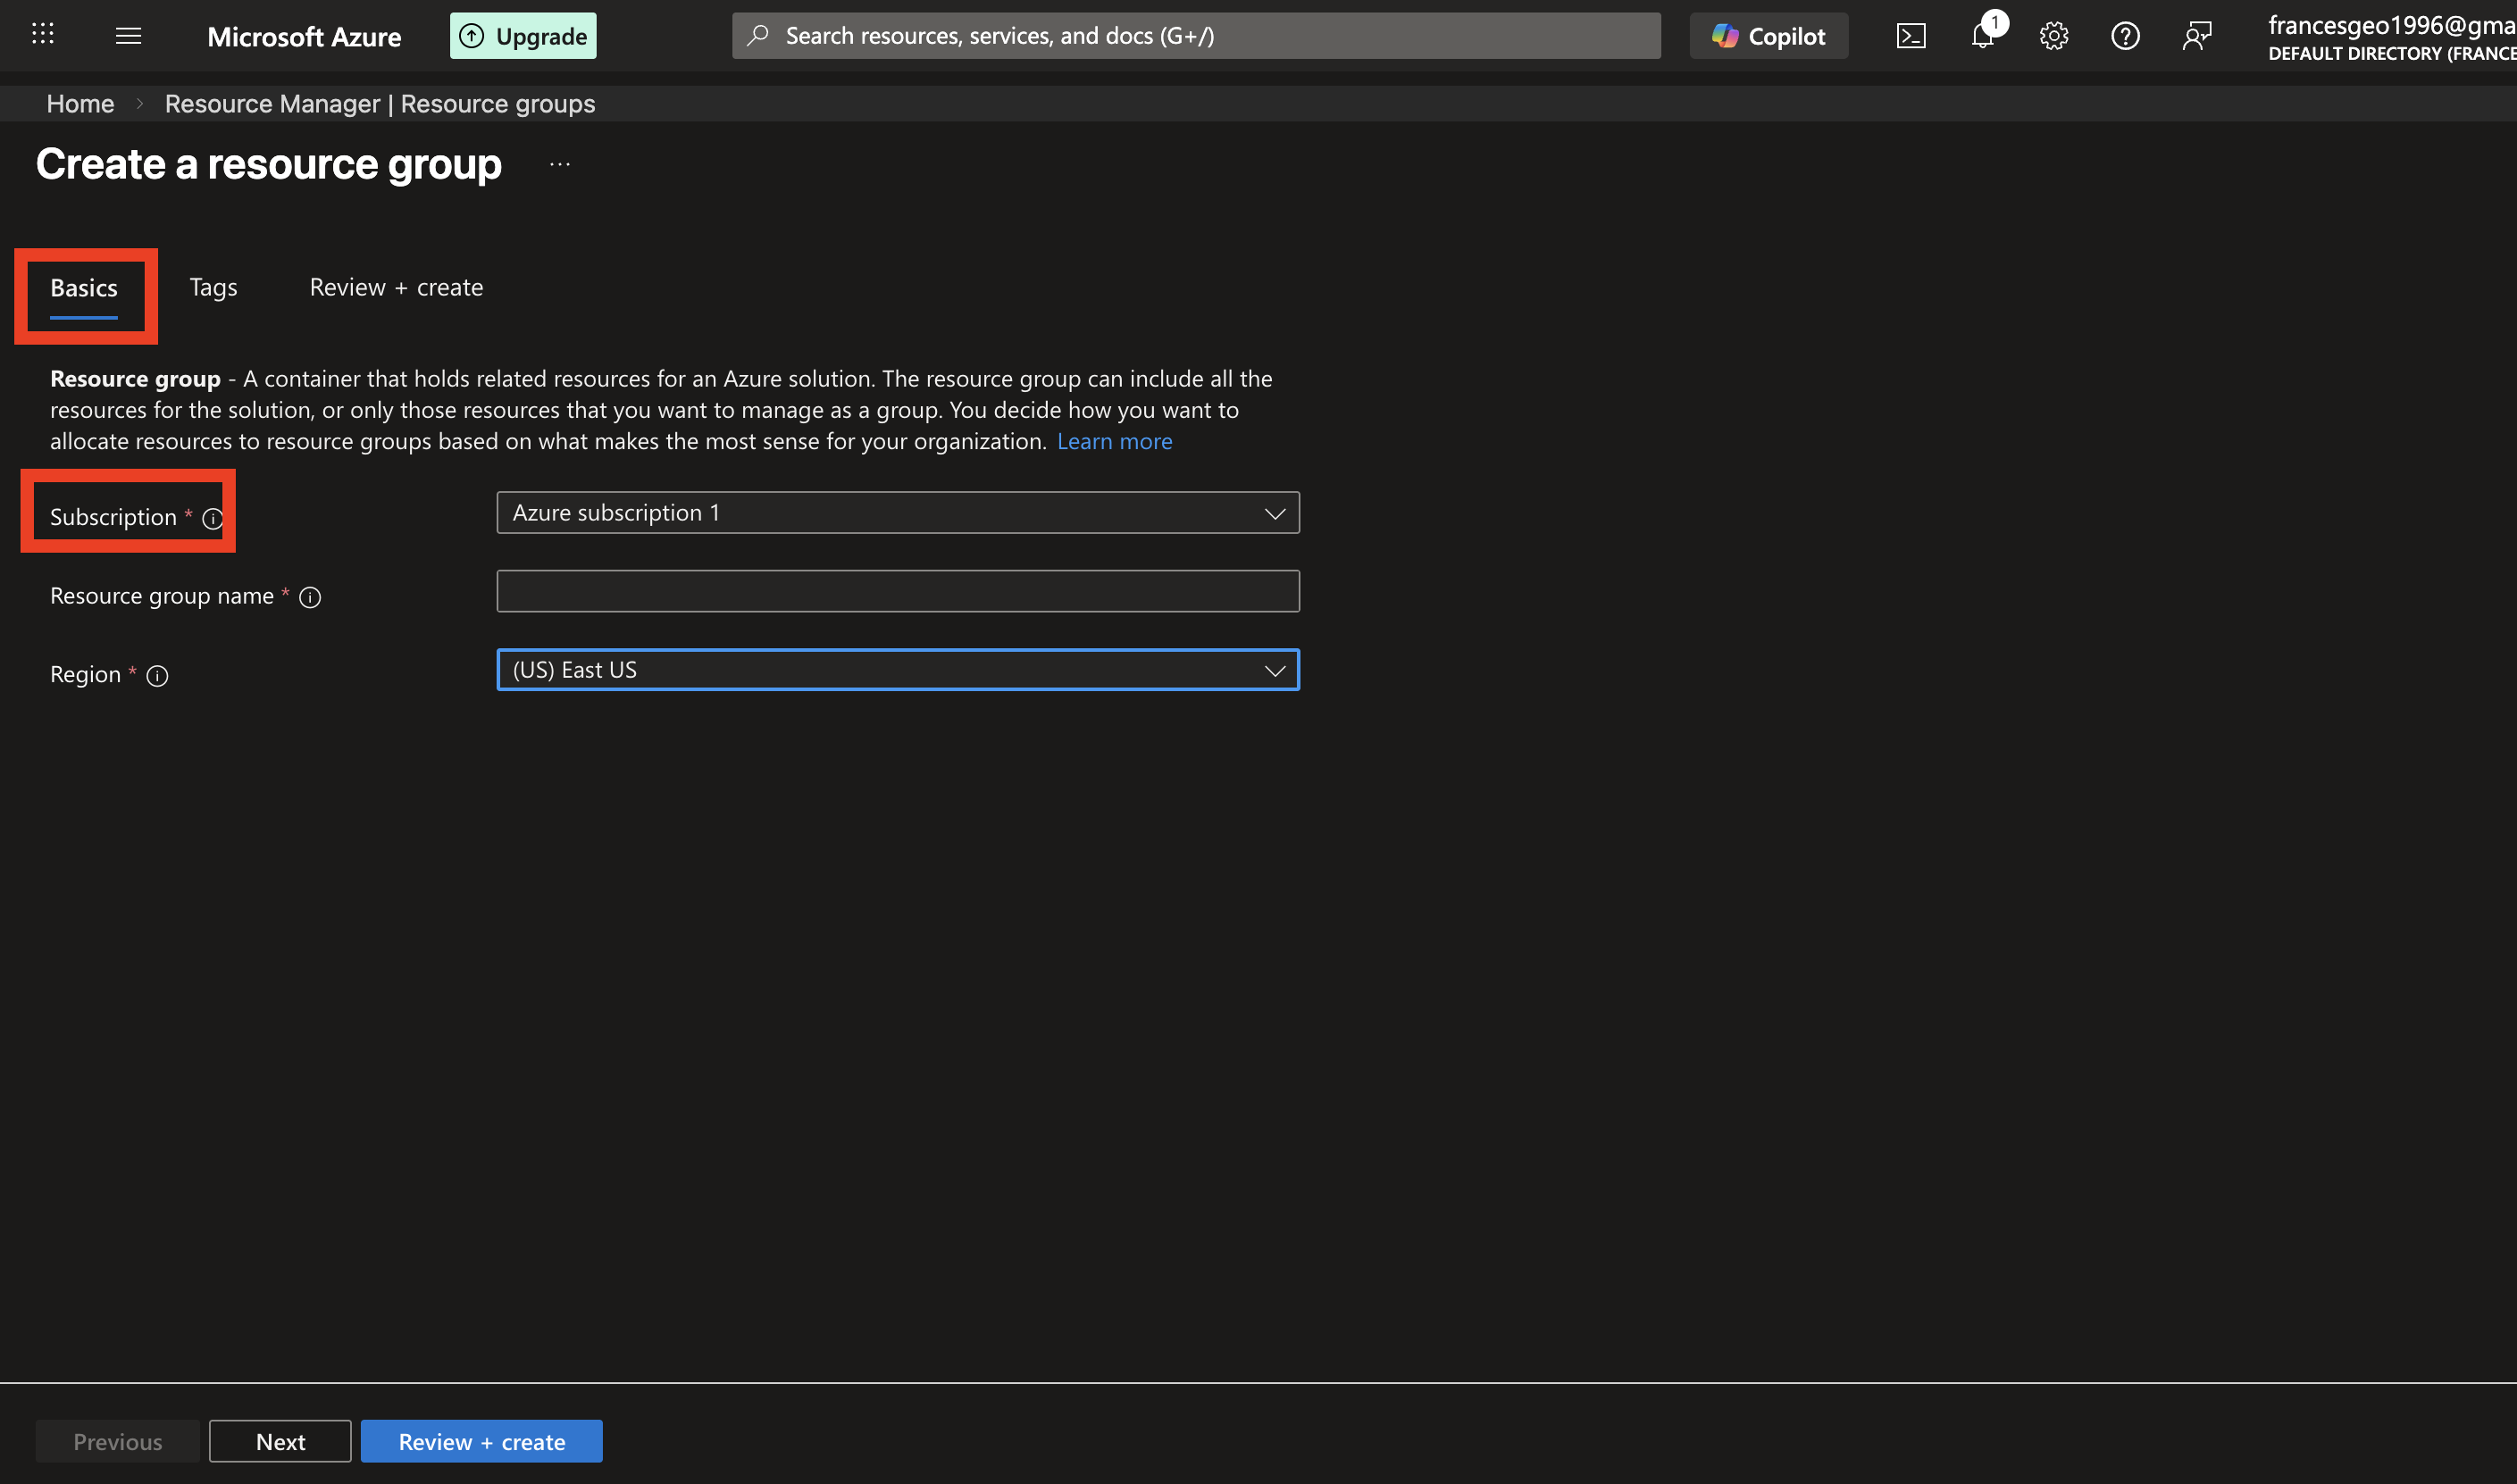
- Resource Group Name: Choose a unique name, for example: • cloudoorGroup • cloud-project-rg
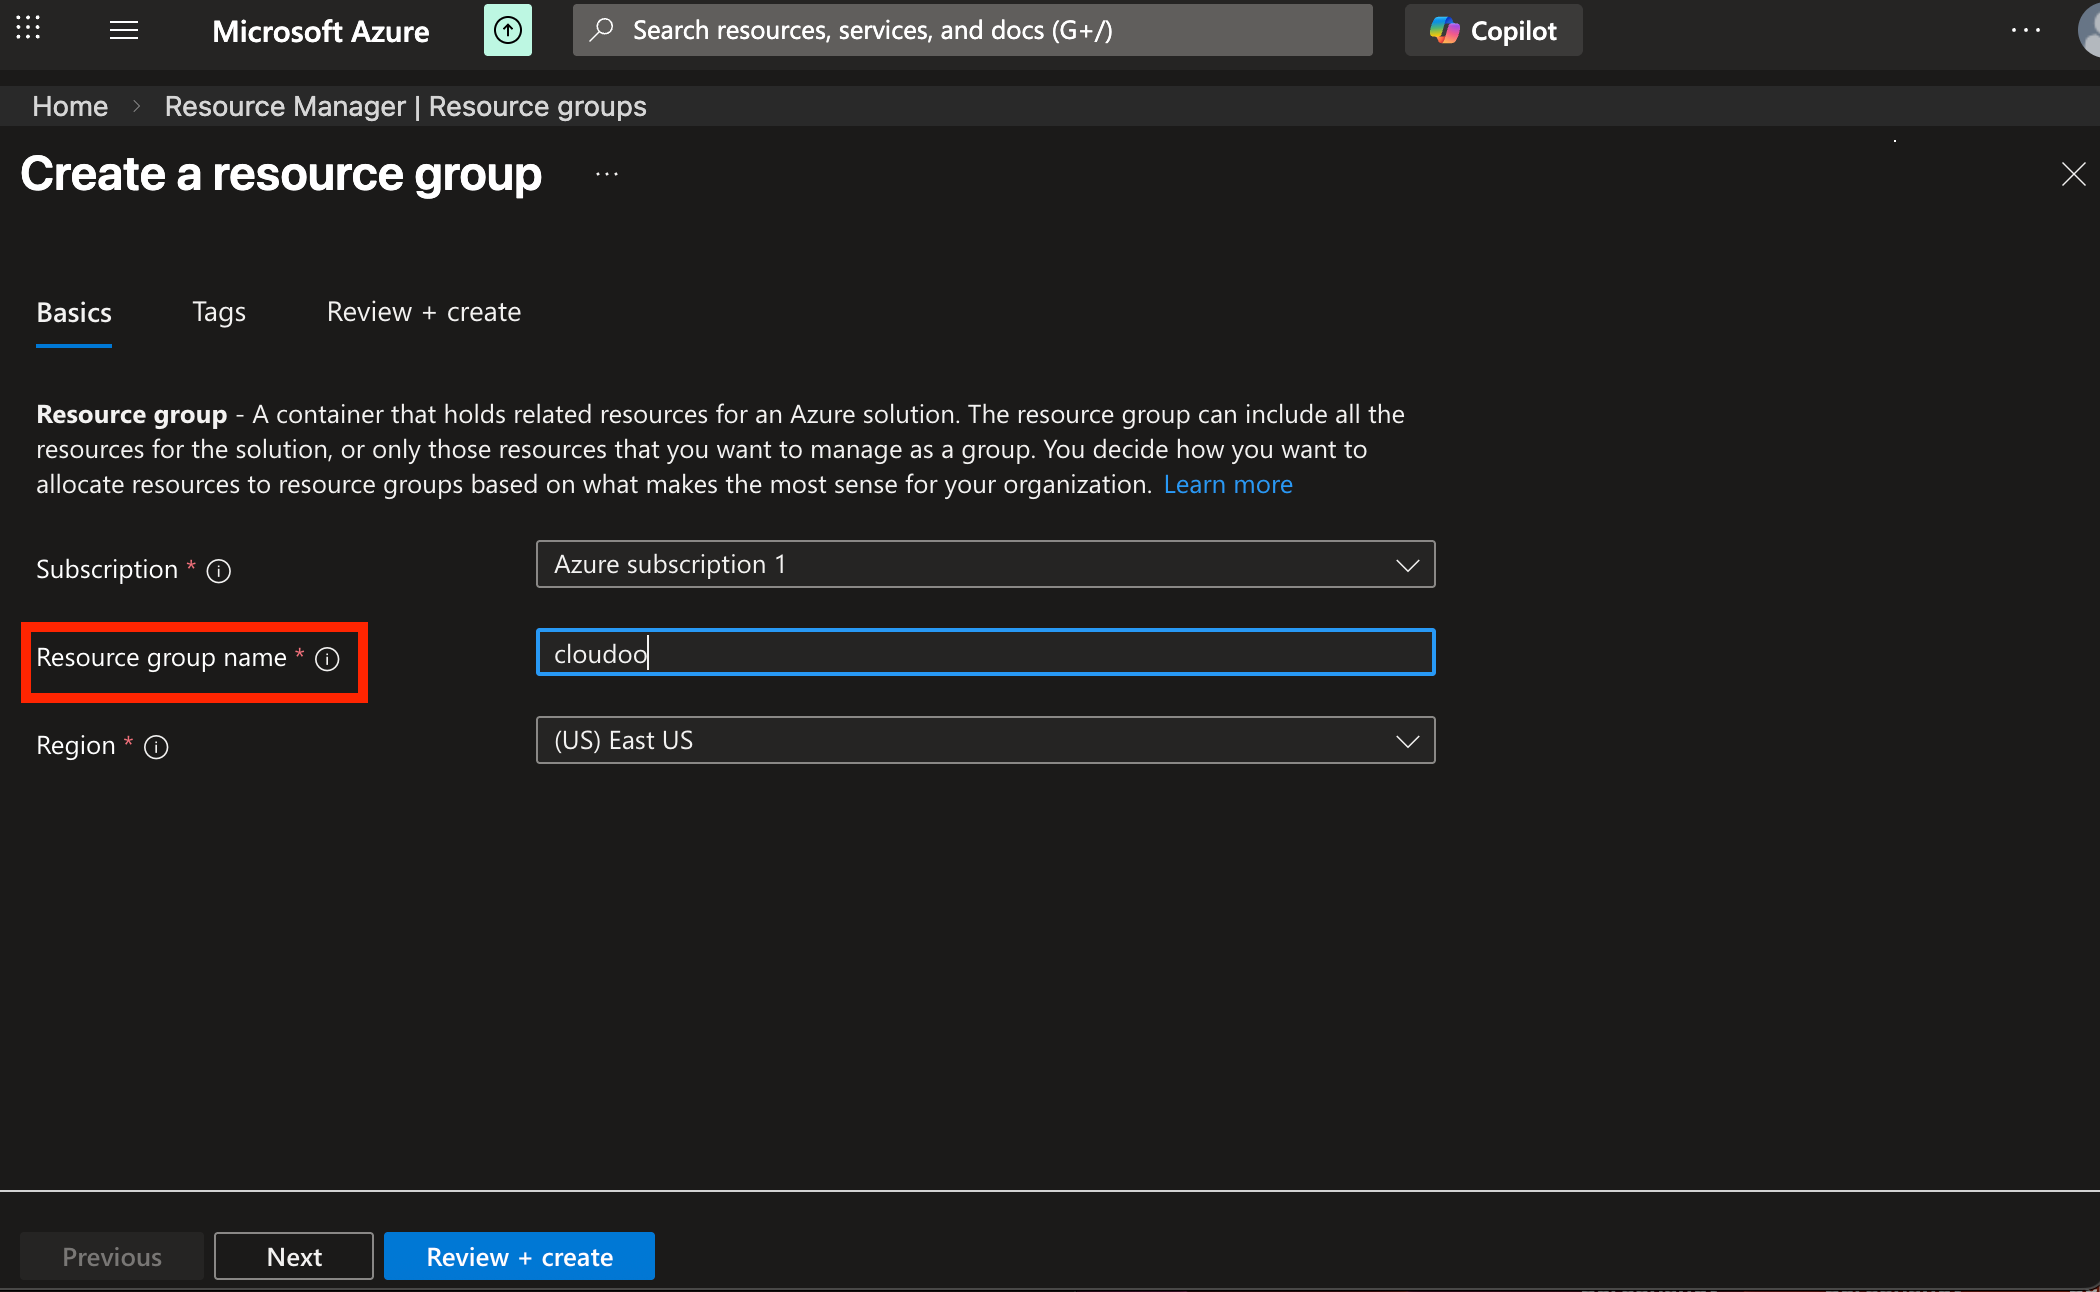
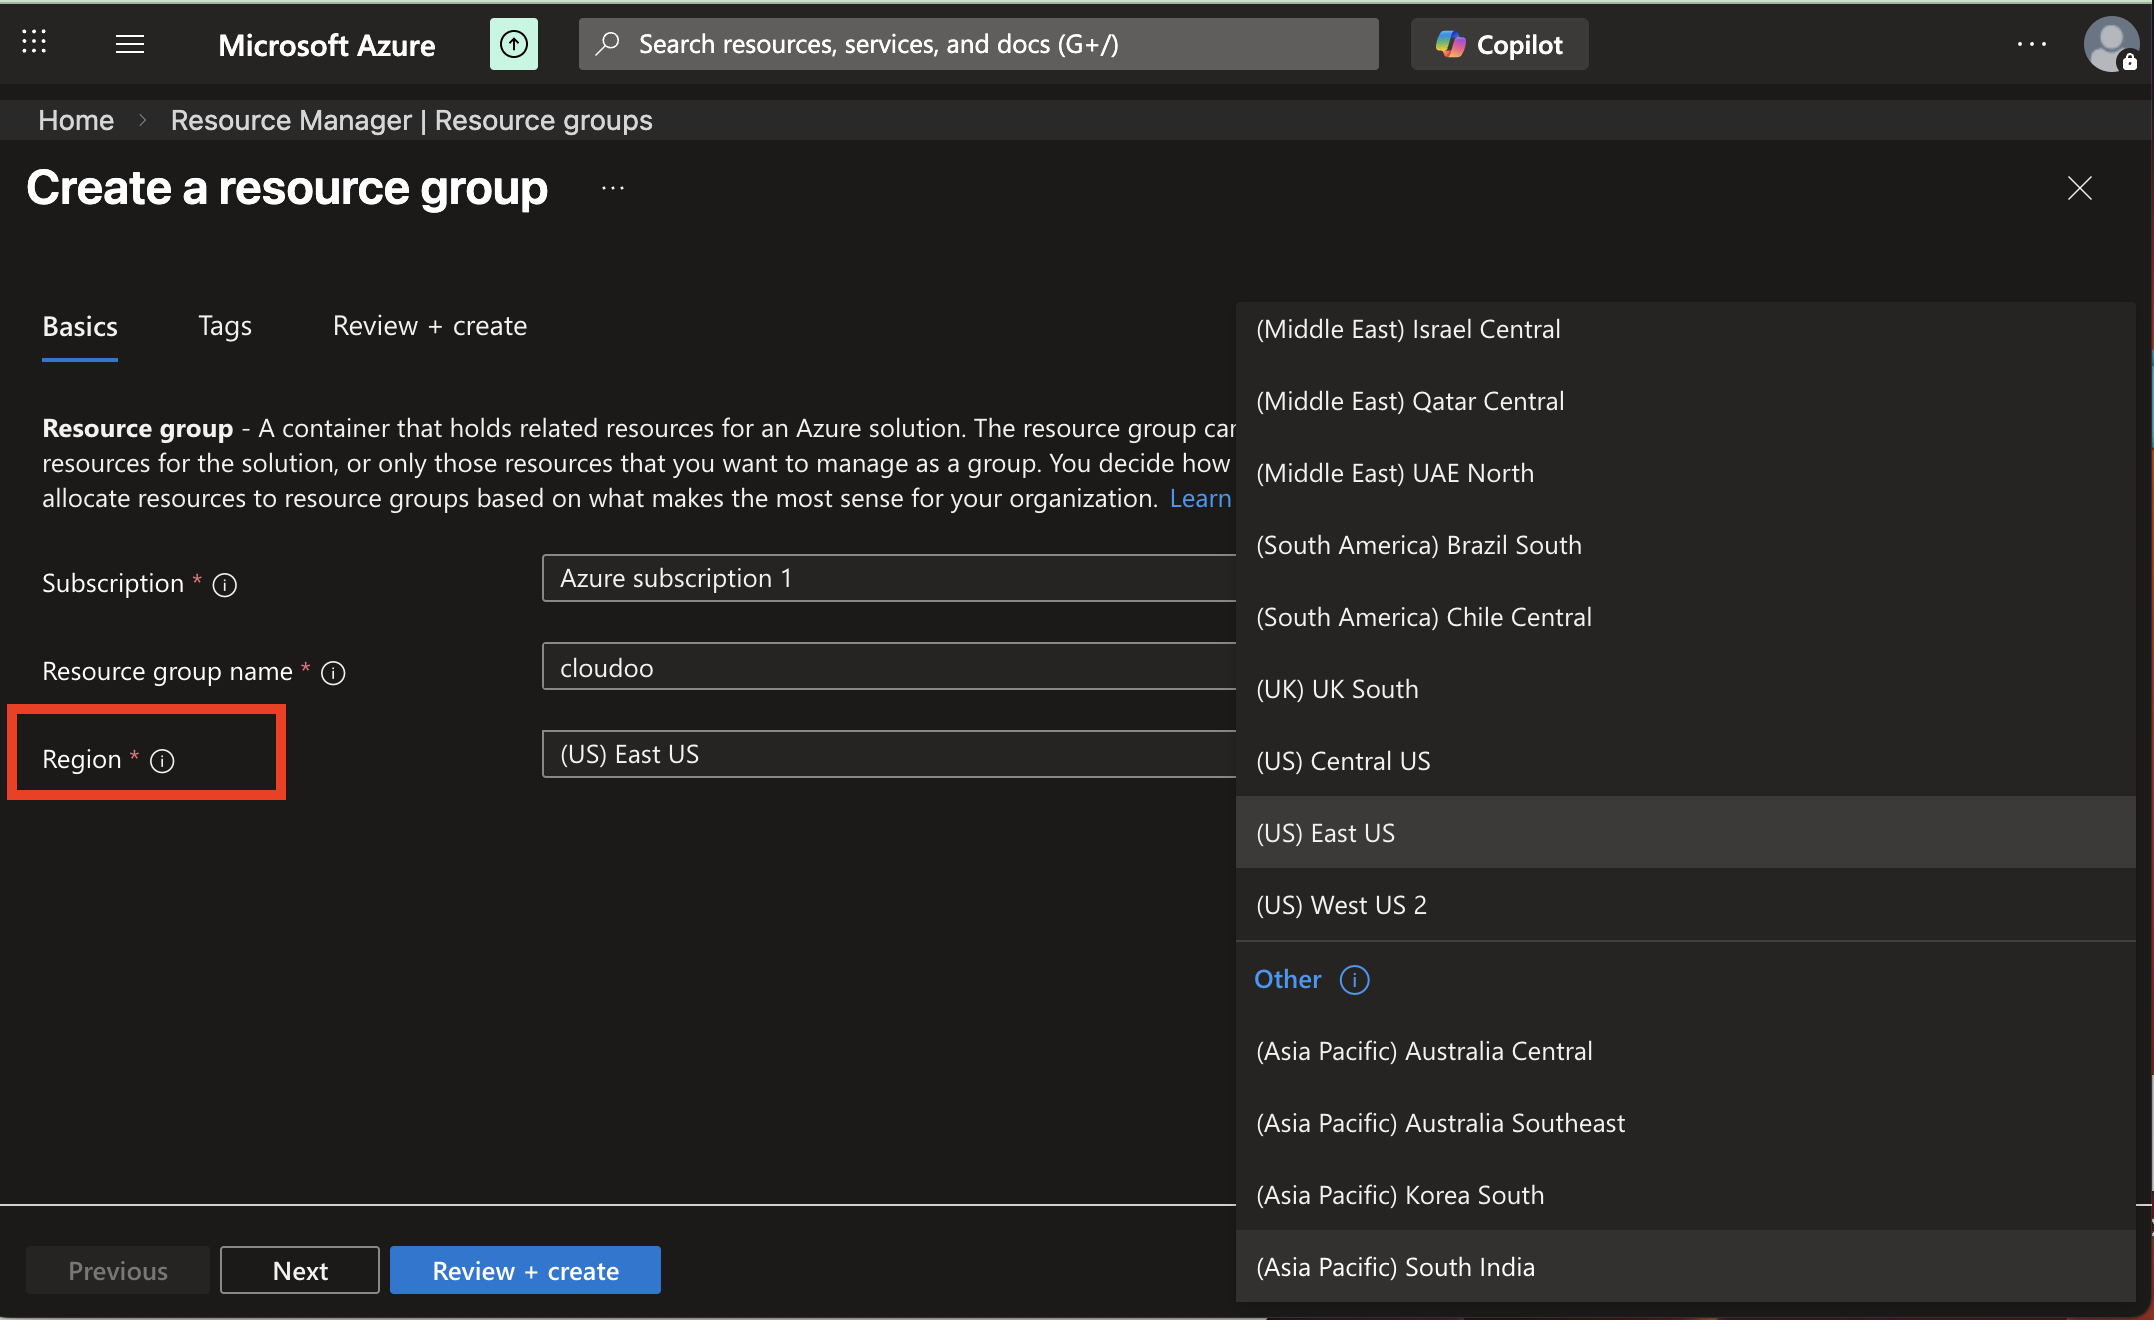
Region: Choose a region close to you, such as: • UK South • West Europe • East US
This determines where your resources will be hosted.
Step 5:
Review and Create
1. Click “Review + Create”
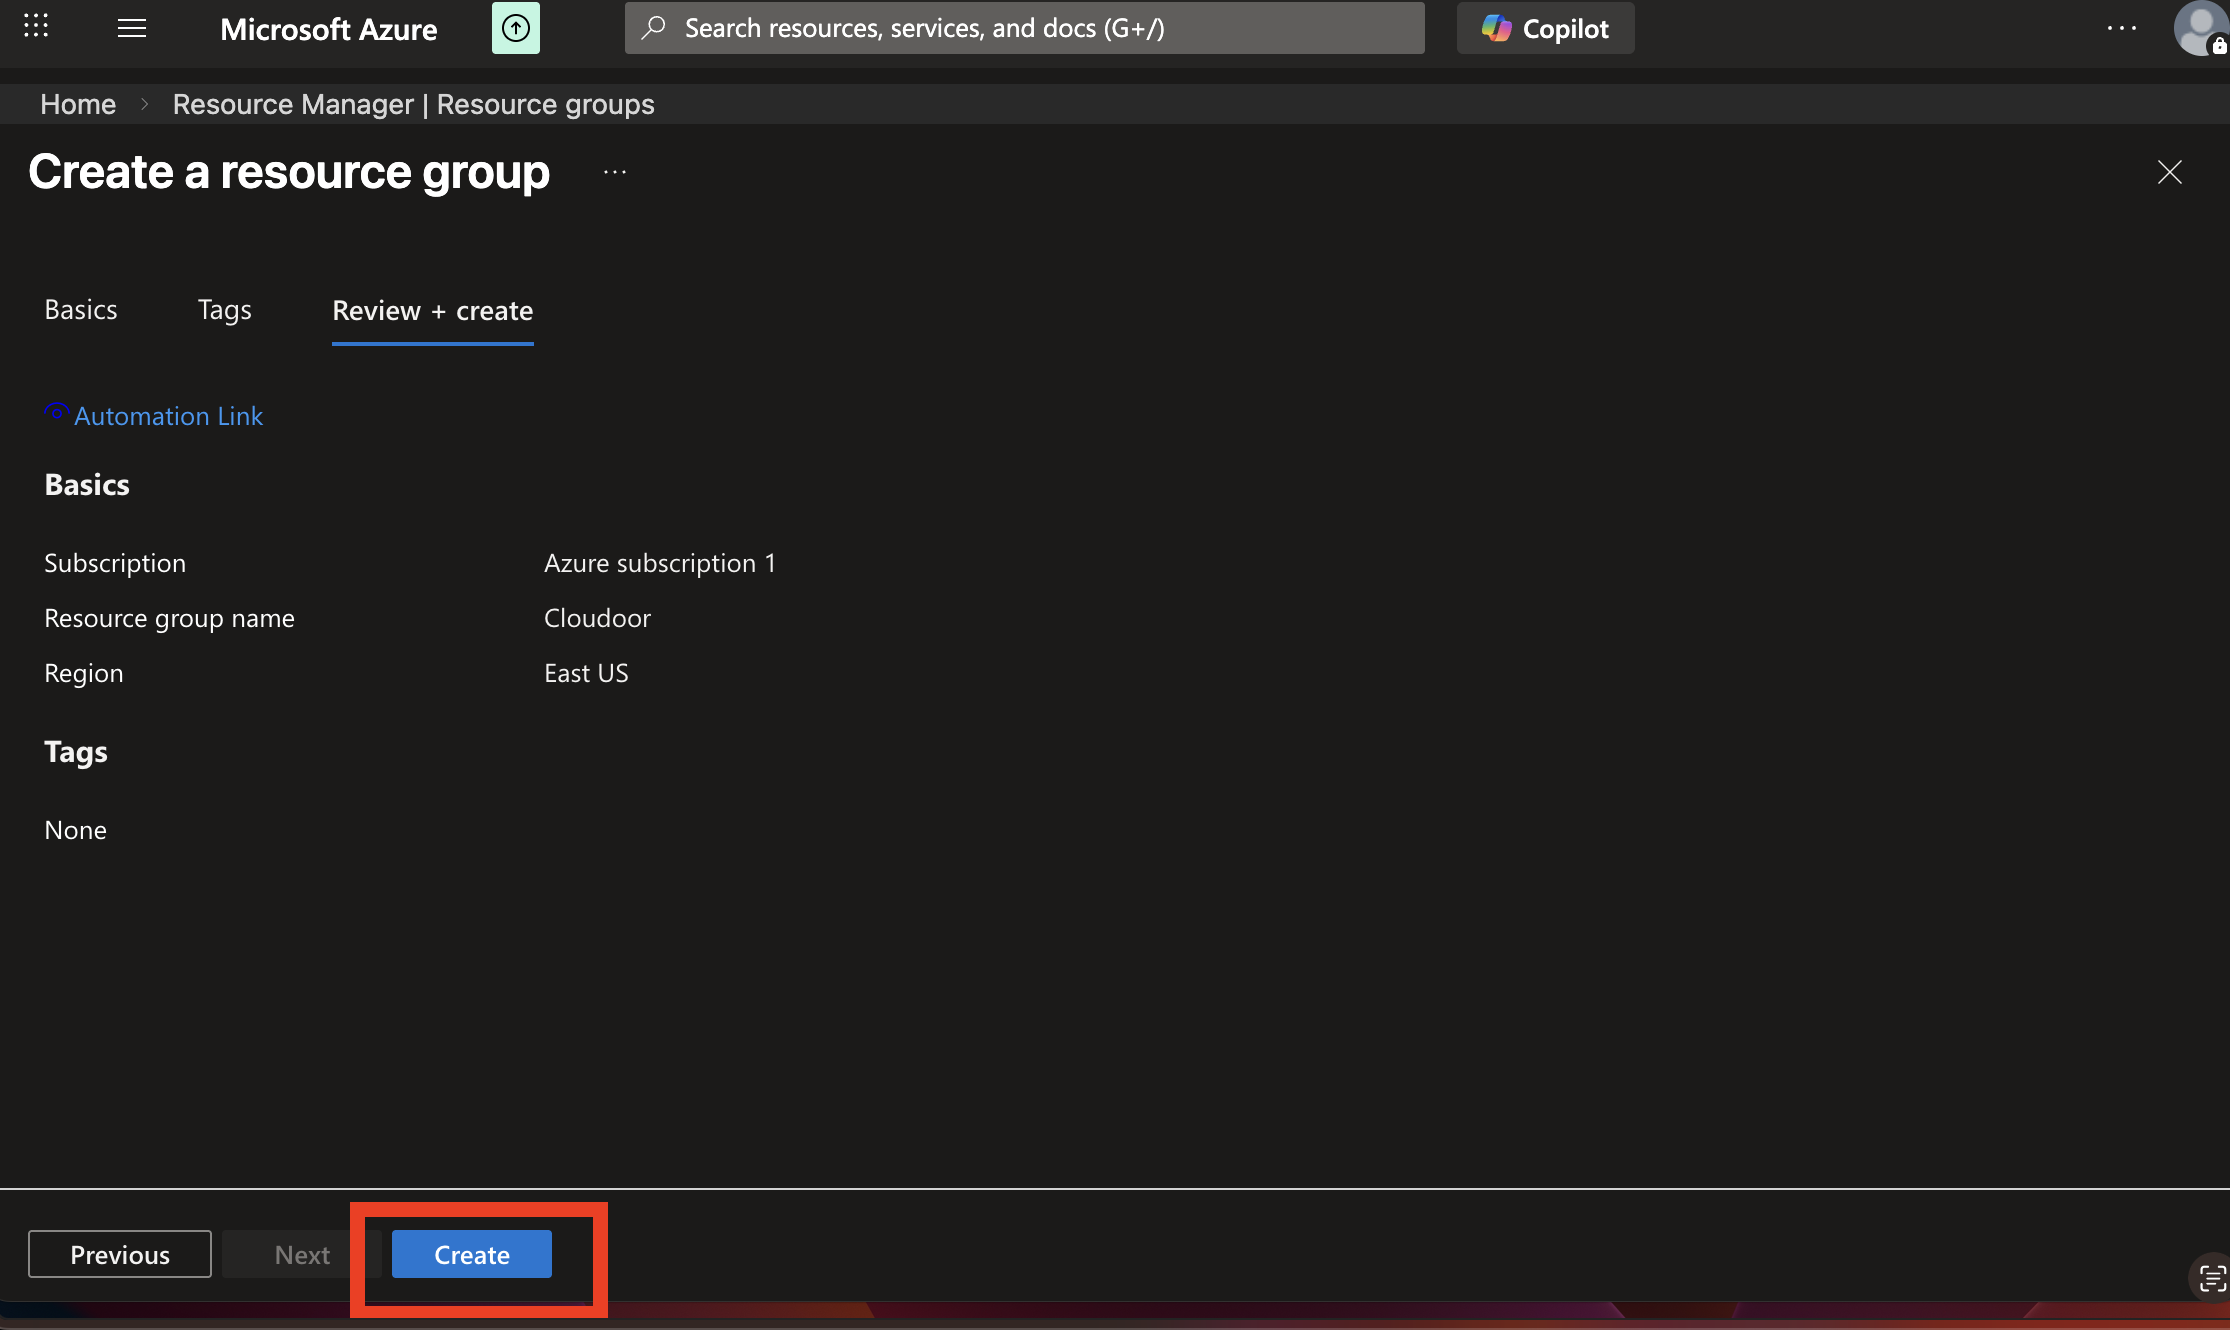
2. Azure will validate your inputs
3. Click “Create”
Step 6:
Confirm Creation
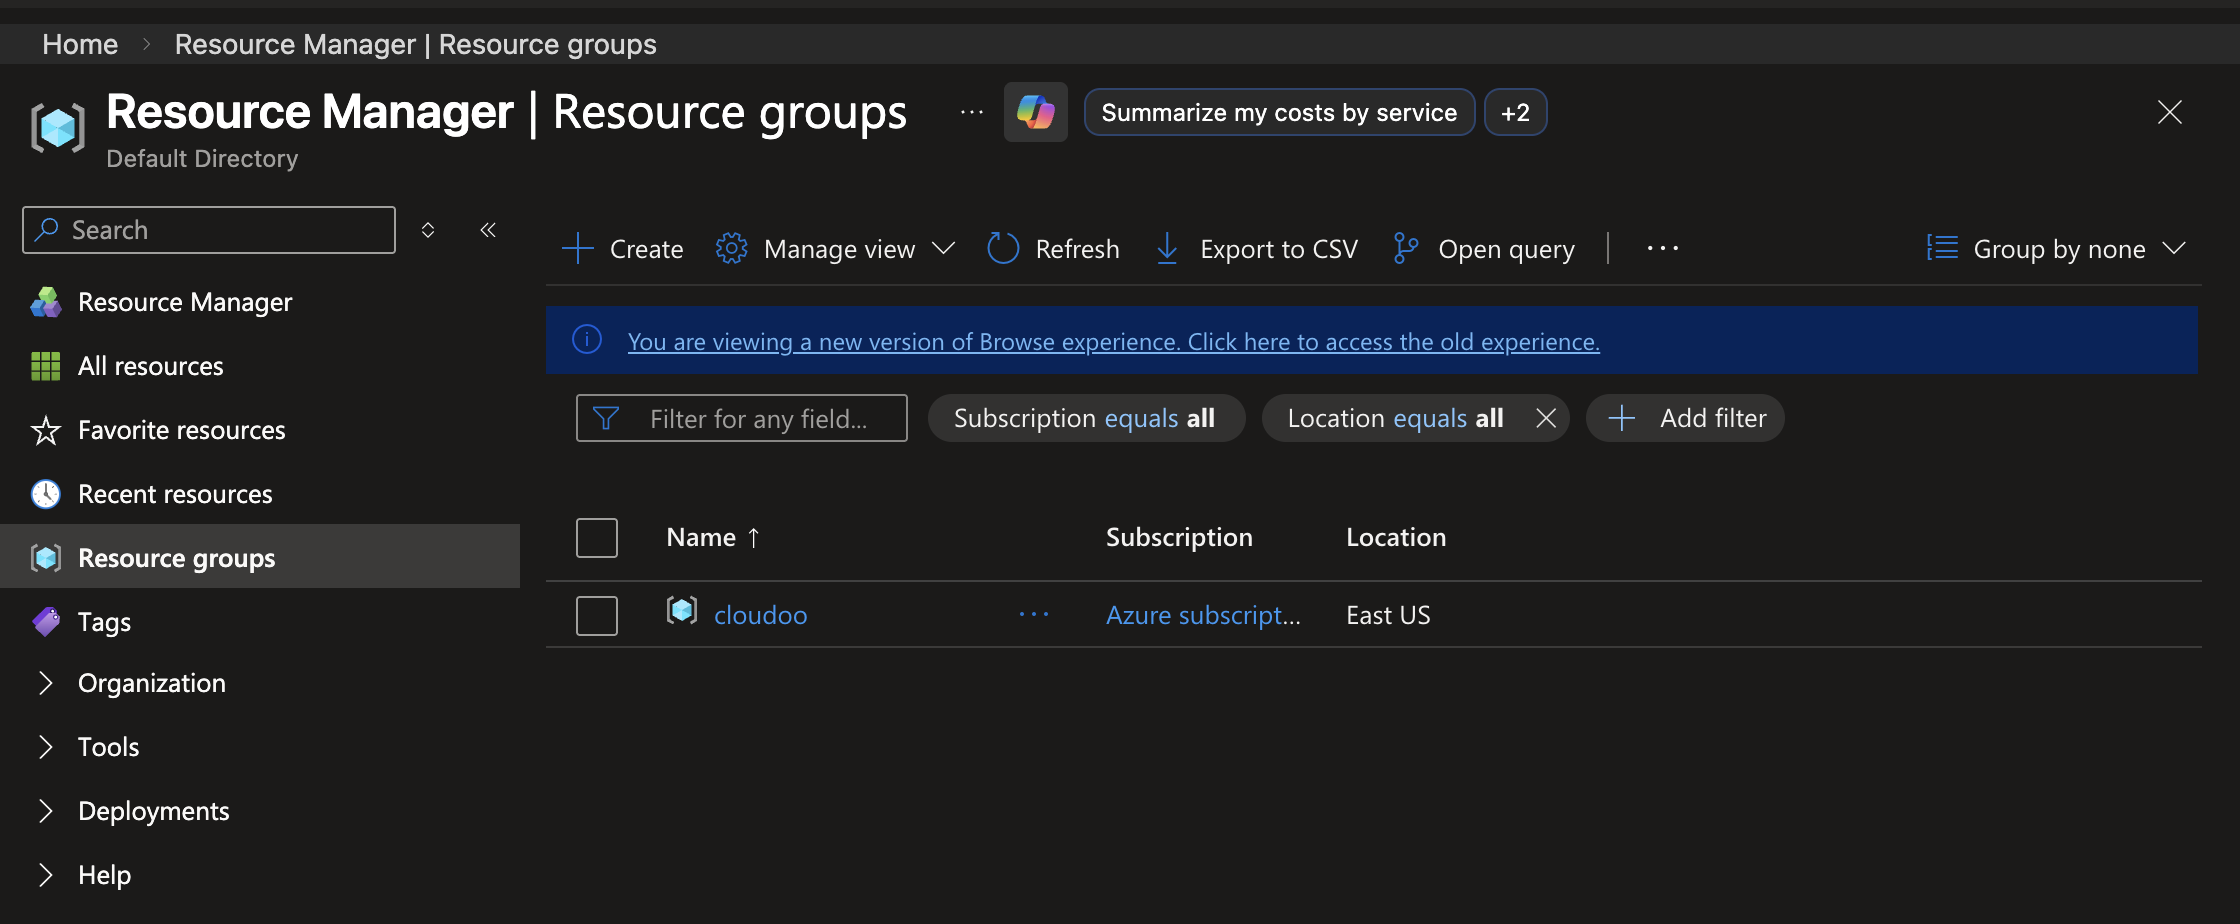
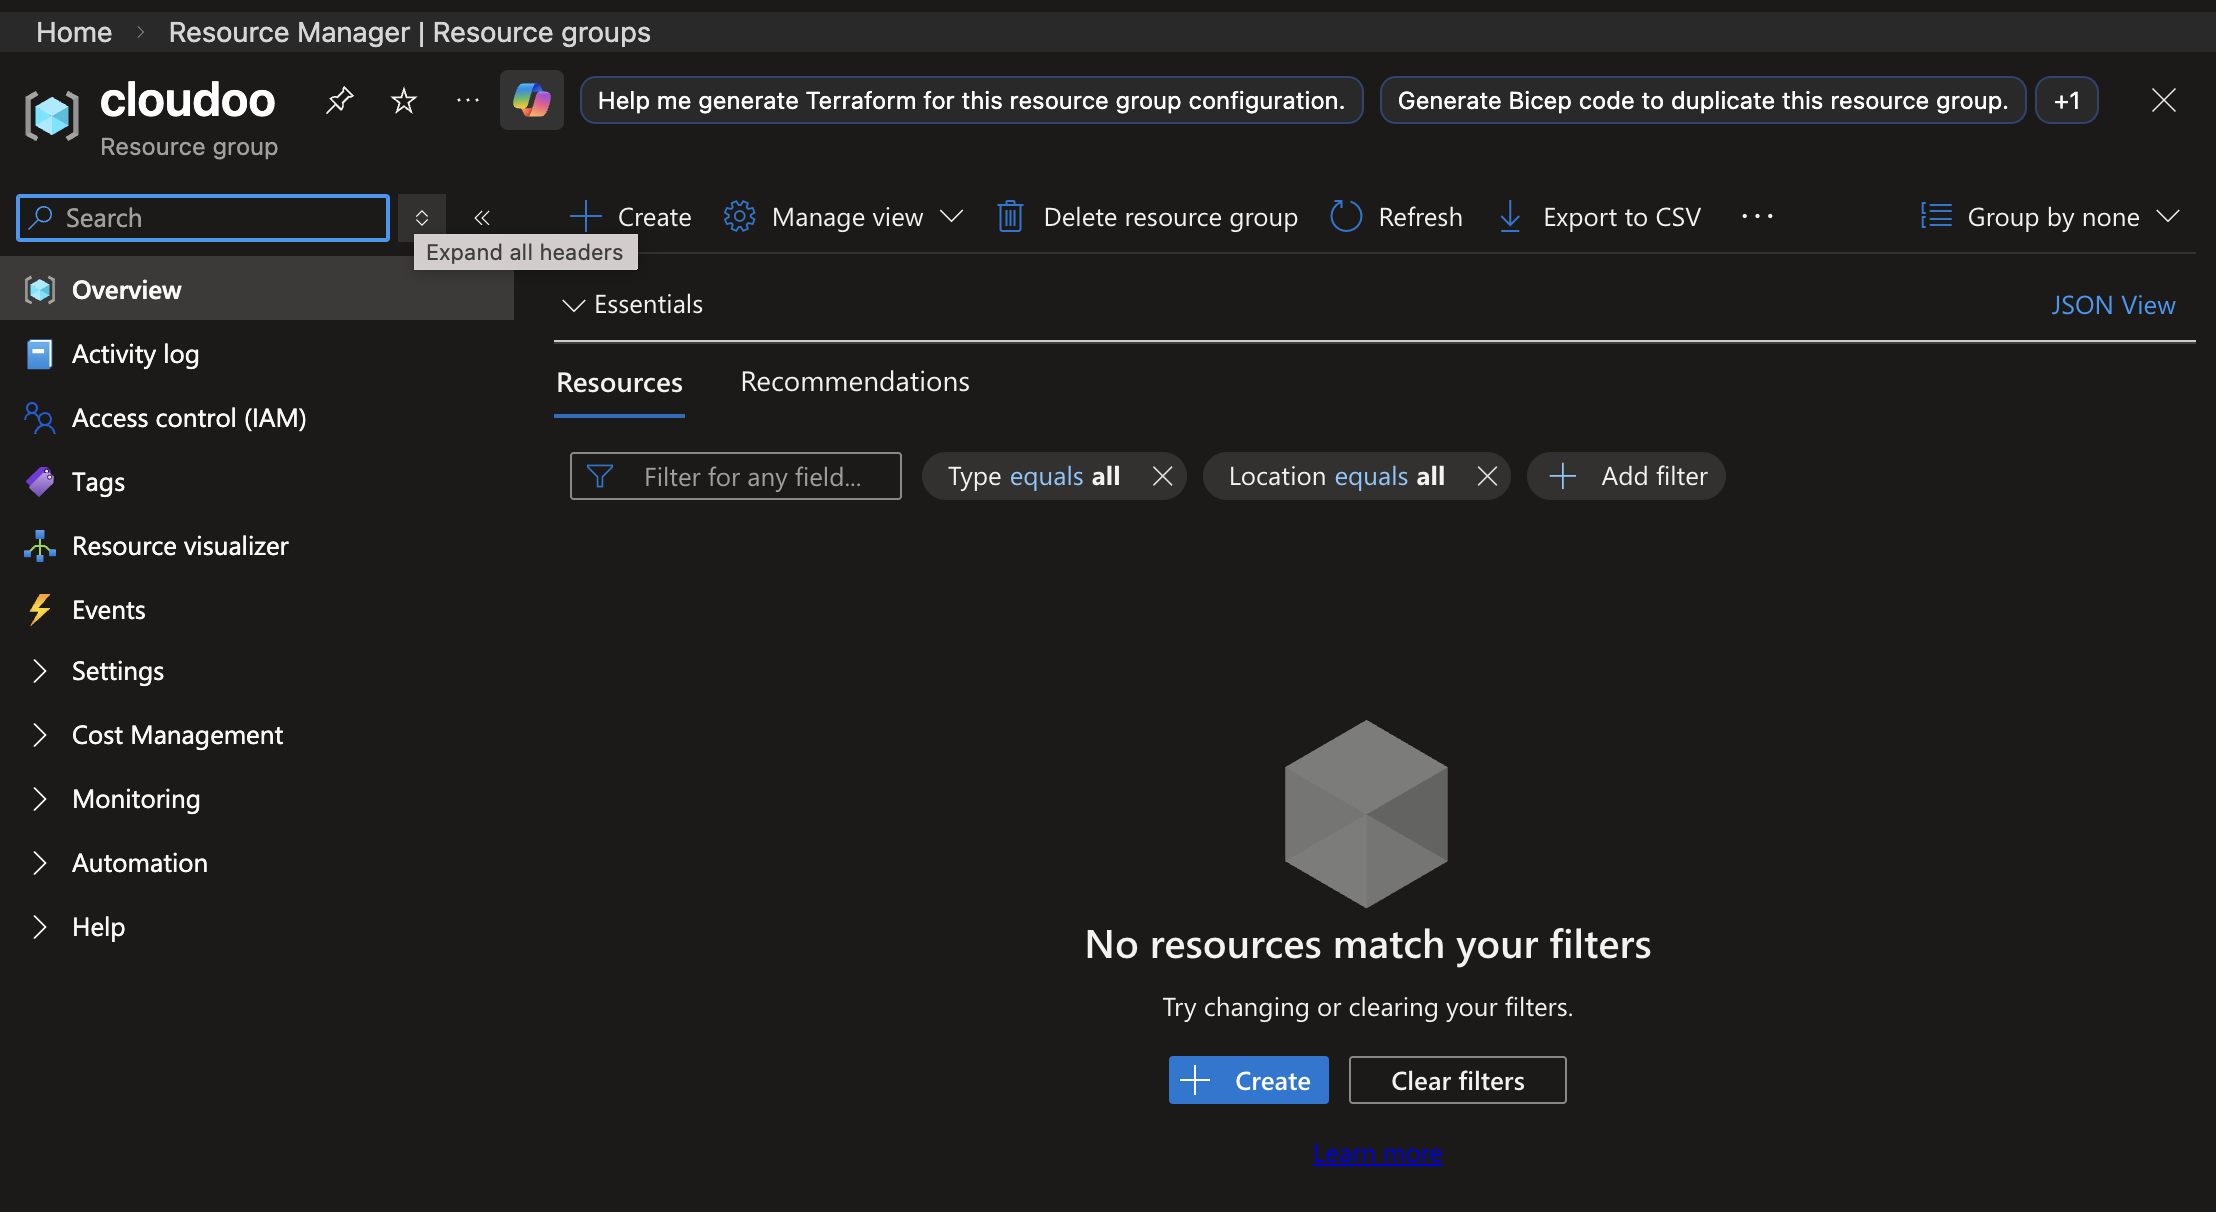
• Click on the resource name for validation
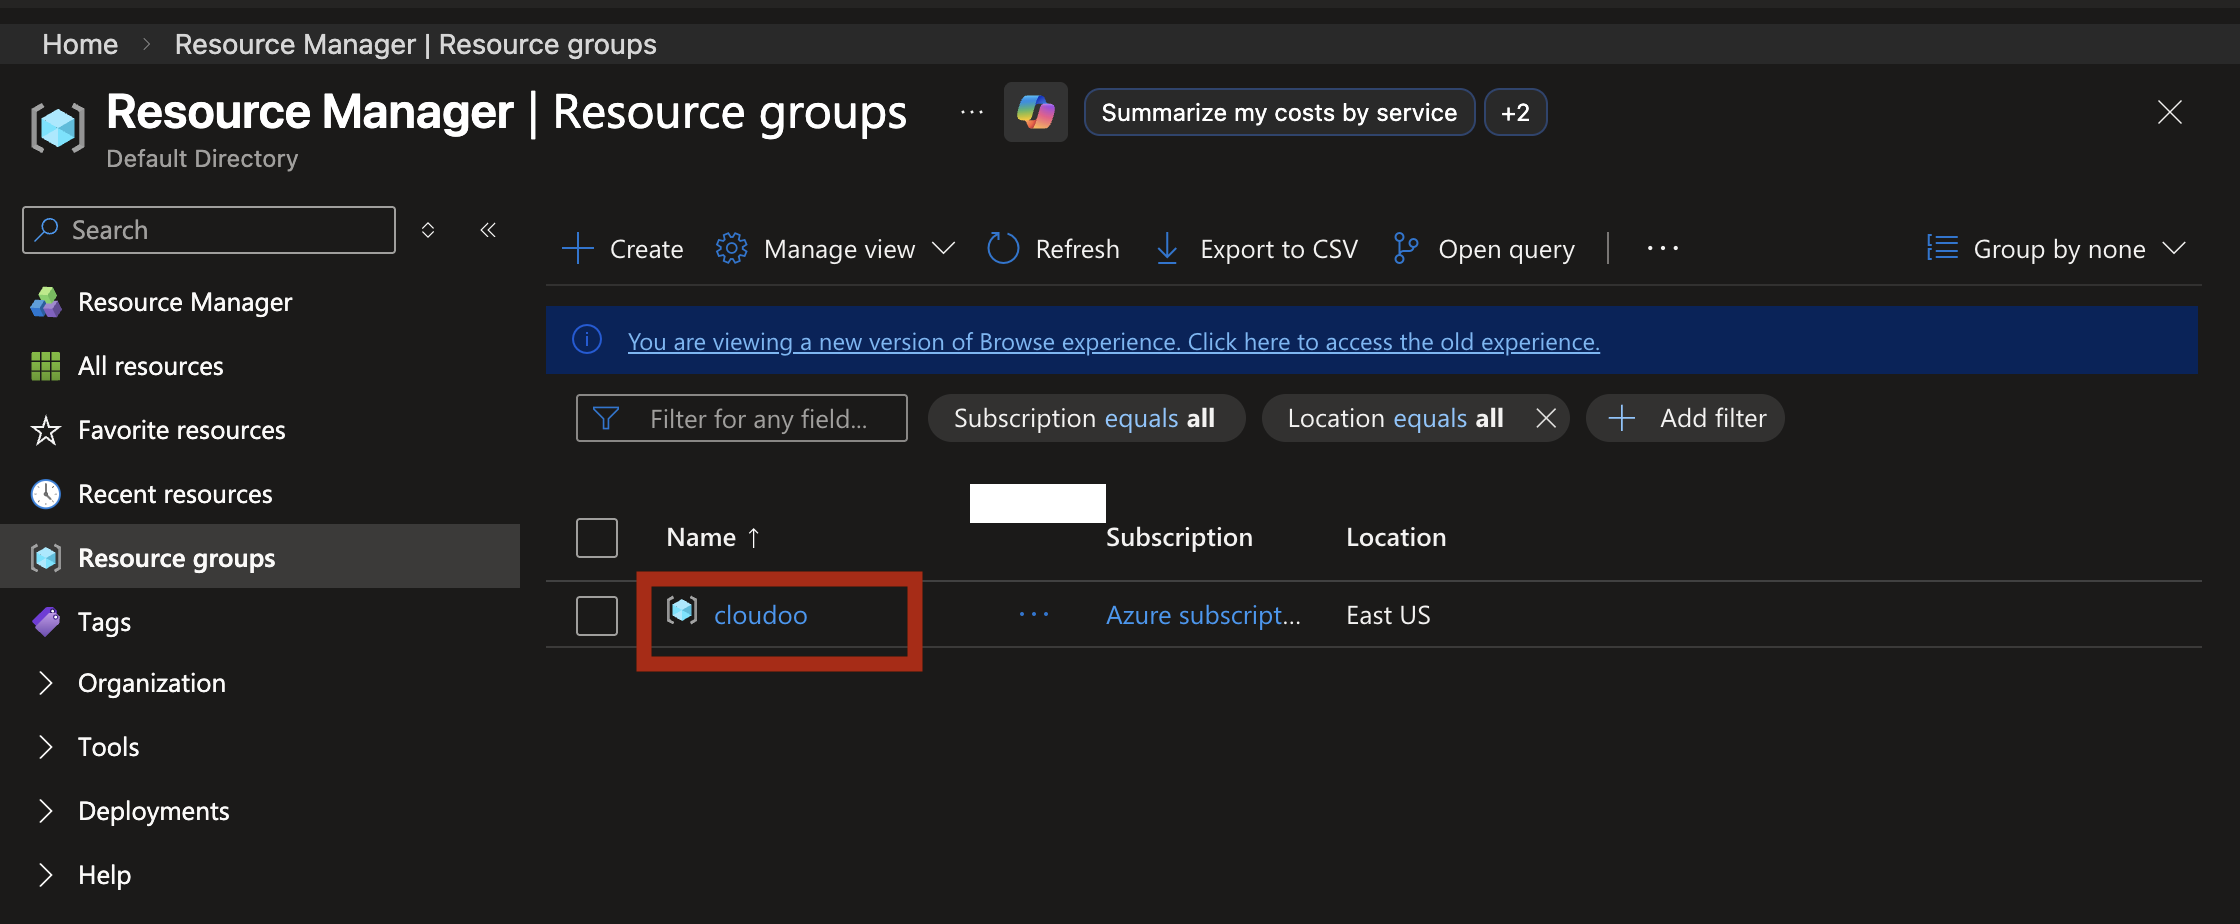
Once validation is passed, wait for Deployment to be successful
• Your resource group is now ready
CONCLUSION
Creating a resource group is one of the first and most important steps when working with Microsoft Azure
You can easily set up and manage cloud resources through the Azure Portal in just a few minutes using window or MacBook.
As you continue learning cloud engineering, mastering resource groups will help you build organized, scalable, and efficient cloud systems.